
How to Add a Fujifilm Film Simulation Recipe to Your Camera
Enter a Fujifilm film simulation recipe correctly, save it to a custom setting and check the details that commonly cause a different-looking JPEG.
 Receptree
Applies to: Written for Fujifilm photographers. Camera menu names, film simulations and available settings vary by model and firmware.
Start with a complete recipe that suits your camera
A Fujifilm film simulation recipe is more than its base simulation. It usually combines Film Simulation, White Balance, a red/blue white balance shift, Dynamic Range, Highlight and Shadow tone, Color, Sharpness, Noise Reduction, Grain Effect, Clarity and sometimes Color Chrome settings. Open the complete recipe before touching the camera and compare every listed control with the options available on your model. A recipe made for a newer camera can include a simulation or setting that an older body does not provide. In that case, treat it as an adaptation rather than silently skipping values and expecting an identical result.
- Keep the recipe open on another screen or write the values down.
- Confirm the camera or sensor-generation compatibility note.
- Choose an empty custom slot so you do not overwrite a setup you still use.
Open the custom settings bank
Press MENU/OK and open IMAGE QUALITY SETTING, then choose EDIT/SAVE CUSTOM SETTING. Select one of the available custom banks and choose CREATE NEW or EDIT/CHECK depending on the camera and whether the bank already exists. Menu wording and the number of banks vary by model and firmware, so use your camera manual when the path differs. Working inside the custom bank is safer than changing the live shooting setup first because it gives the recipe a named place you can inspect and recall later.
- MENU/OK > IMAGE QUALITY SETTING > EDIT/SAVE CUSTOM SETTING.
- Select an unused C slot, then choose CREATE NEW or EDIT/CHECK.
- Do not use a movie custom bank when you intend to save a still-photo recipe.
Enter the image-quality settings in a consistent order
Begin with the base Film Simulation, then work through the recipe line by line. A dependable order is Dynamic Range, White Balance, white balance shift, Highlight, Shadow, Color, Sharpness, Noise Reduction, Clarity, Grain Effect and the Color Chrome controls. The order does not change the finished rendering; it simply makes omissions easier to spot. Some recipes use names from older menus, such as Highlight Tone or Shadow Tone, while newer cameras may present related controls as a tone curve. Copy the actual value, not only the wording around it.
- Set both Grain roughness and Grain size when the camera offers both.
- Check Color Chrome Effect and Color Chrome FX Blue separately.
- Leave an unavailable setting alone rather than inventing a substitute.
Treat white balance and WB shift as two settings
White balance is a frequent source of mismatched results. First select the recipe’s white balance mode, such as Auto, Daylight or a Kelvin value. Then press MENU/OK on that selected mode to open the fine adjustment grid and enter the separate red and blue shift values. A recipe marked R+3 B-4 therefore needs both the named white balance and the shift; entering only one of them does not reproduce the intended colour. Custom white-balance measurements can also behave differently from a fixed preset, so follow the recipe’s exact method when it is specified.
- Select the white balance mode first.
- Open its fine adjustment and enter the R and B coordinates.
- Recheck the signs: R+3 and R-3 move in opposite directions.
Check Dynamic Range and exposure separately
Dynamic Range settings can impose a minimum ISO. If DR200 or DR400 is unavailable, raise ISO or use an Auto ISO bank that permits the required minimum, then check again. Exposure compensation is different: it describes how brightly the photographer intends to expose the scene and may be set with a physical dial instead of being stored as part of the recipe. Treat a suggested value such as +1/3 as field guidance, not a fixed colour parameter. Light, subject brightness and metering can all require a different compensation value.
Save, name and select the recipe
Return from EDIT/CHECK and confirm SAVE THE CHANGES when your camera asks. Rename the bank with a short label you can recognise in the viewfinder or Q Menu. On cameras with a PASM mode dial, saved custom modes can usually be recalled by turning the dial to C1, C2 and the other available positions. On models without those positions, use SELECT CUSTOM SETTING in the Image Quality menu or the first item in the default Q Menu. Cameras with a Film Simulation dial may need the dial set to C before a custom bank controls the simulation; some newer models can also store recipes in dedicated FS slots. Check the manual for the behaviour of your exact model.
- Give the bank a useful name instead of leaving CUSTOM 1.
- Select the saved bank and confirm its Film Simulation and white balance.
- If the camera changes saved values automatically, review its auto-update setting.
Record a JPEG and run a fair test
Film simulation recipe settings are rendered into the camera JPEG. Choose FINE or NORMAL for JPEG-only capture, or FINE+RAW or NORMAL+RAW when you also want an RAF file whose underlying raw image data remains available for later processing. The RAF may still contain recipe metadata and a rendered preview. Photograph a familiar subject in the kind of light the recipe was designed for, then make three to five frames before changing anything. If the result differs from a sample, first recheck compatibility, white balance shift, Dynamic Range, exposure compensation and every setting that was unavailable. The sample image’s light and exposure remain part of its appearance, even when all camera values match.
- Confirm that JPEG capture is enabled.
- Test in appropriate light before modifying the recipe.
- Change one value at a time and keep a note of the result.
Choose a complete recipe to add to your camera
Open one recent community recipe, check its camera compatibility and keep the full settings list beside you while you fill an empty custom bank.
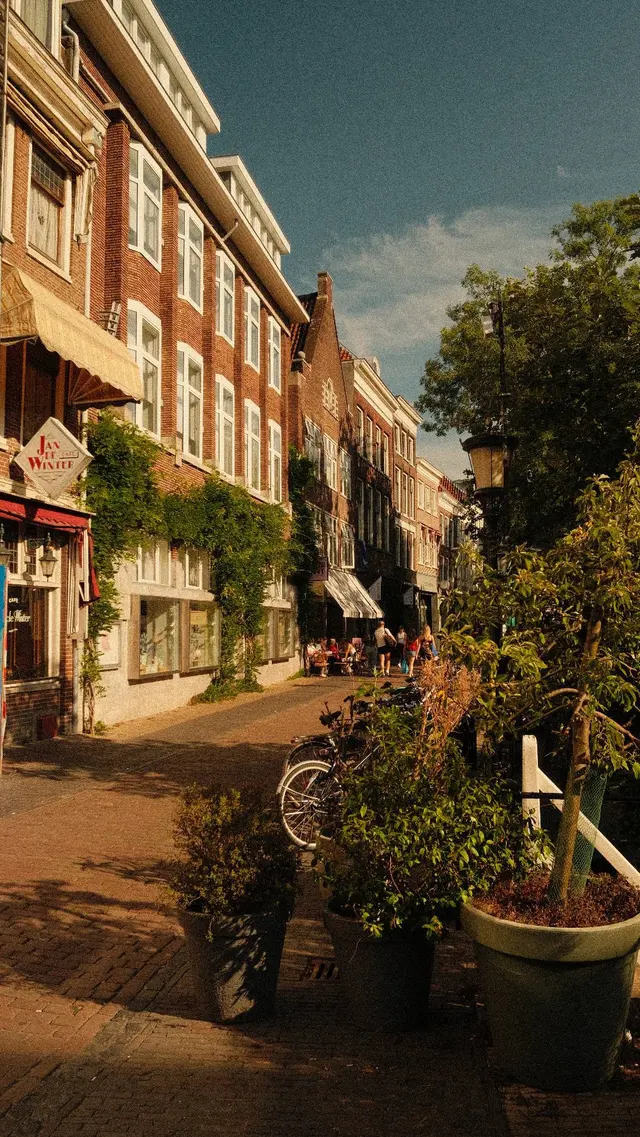
Deze kan het best in fel daglicht gebruikt worden want anders worden de fotos vaak te rood
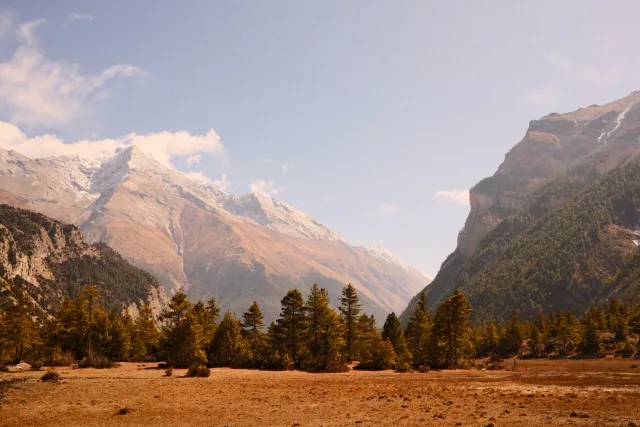
Alpine Amber is a warm Fujifilm Reala Ace recipe for golden light, muted greens, and crisp mountain air. Made for alpine landscapes, road trips, and quiet outdoor moments, with a nostalgic glow.
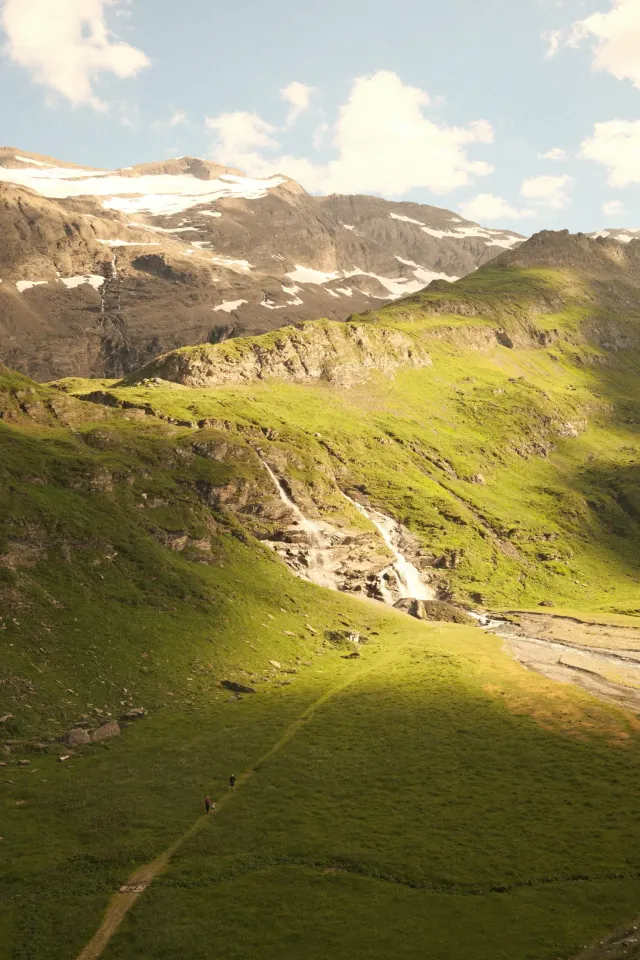
A soft cinematic Eterna recipe with muted contrast, warm natural tones and gentle color separation. Ideal for outdoor scenes, travel, landscapes and everyday moments with a calm film-like mood.
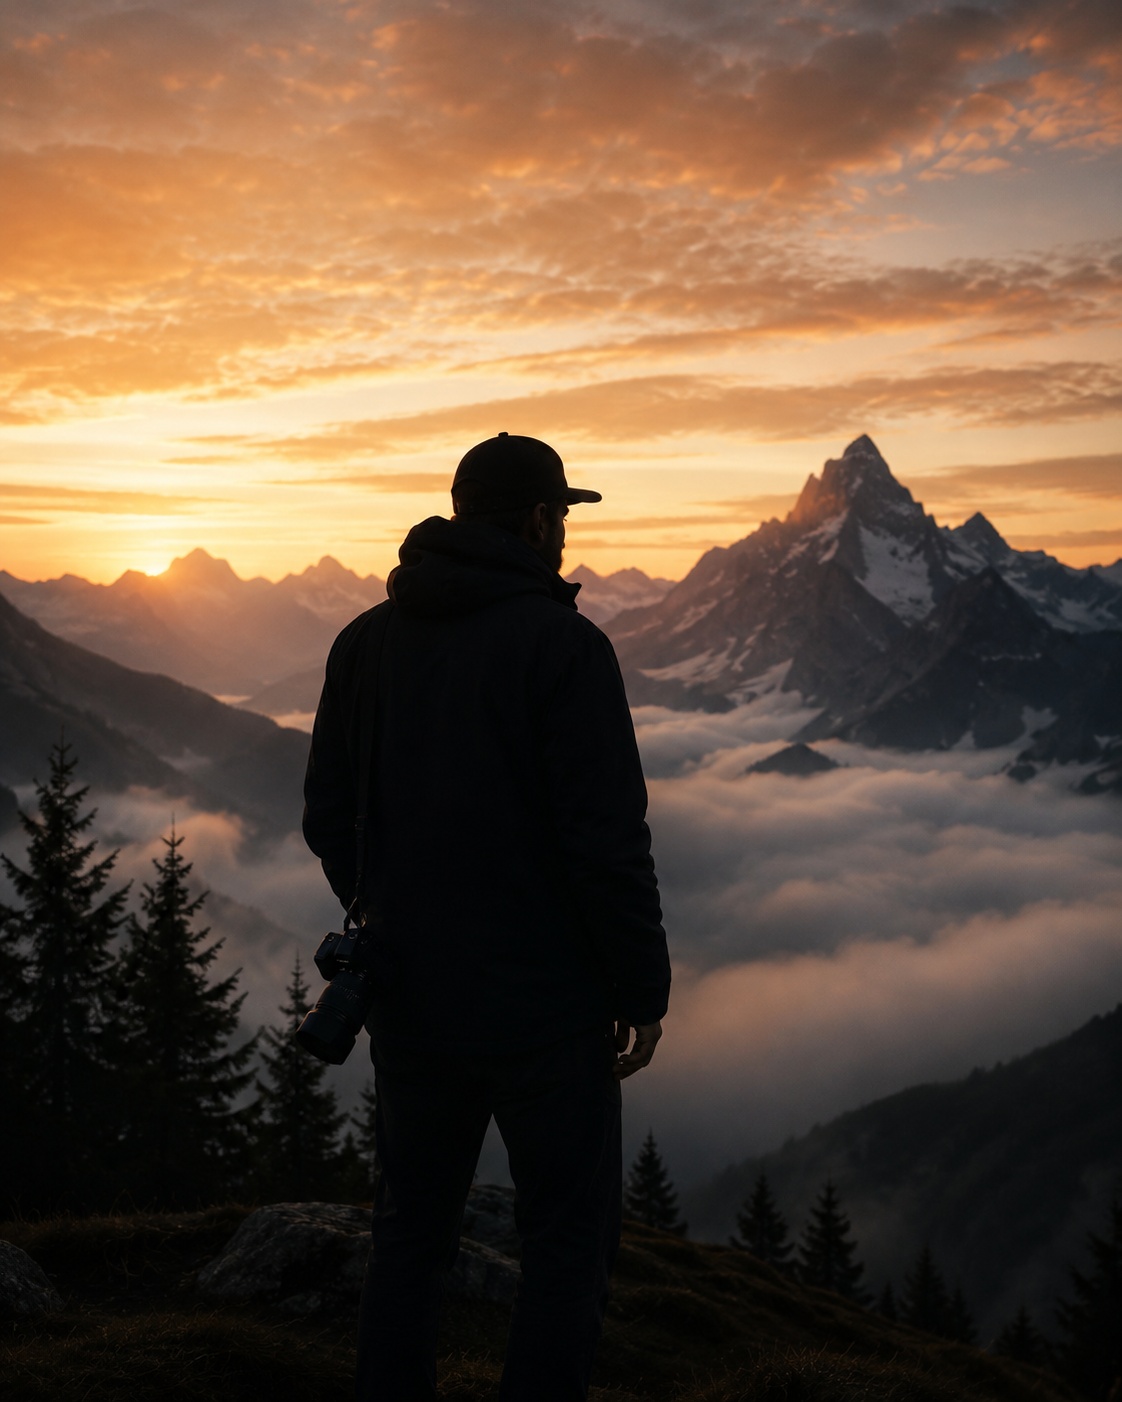 Samuel
A faded Eterna recipe inspired by vintage travel photography and old film aesthetics. Features soft contrast, washed highlights, muted color rendering, and a nostalgic cinematic feel. Ideal for summer travel, seaside scenes, quiet streets, and relaxe
 Noah
Noah