Fujifilm Color Space: sRGB or Adobe RGB?
Choose sRGB or Adobe RGB for a Fujifilm rendered file, understand the HEIF restriction and check the complete editing, export and print workflow.
 Receptree
Applies to: Menu paths and options checked for the Fujifilm X100VI. The explanations introduce Fujifilm controls; availability on other models and firmware must be checked in their own manuals.
Find Color Space
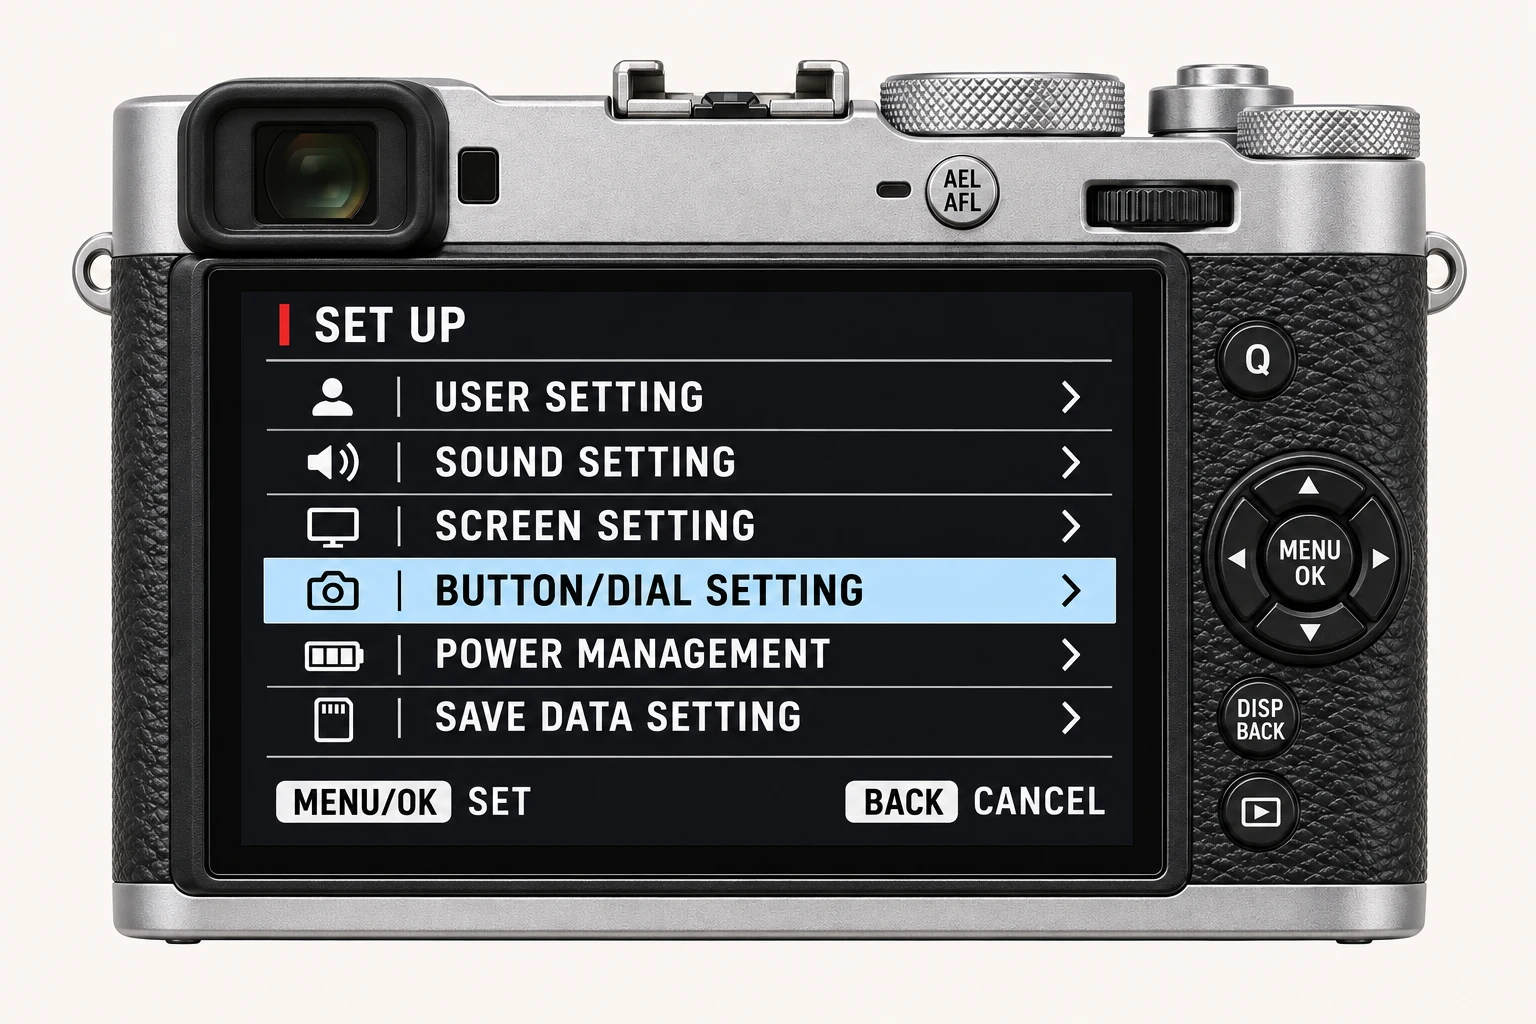
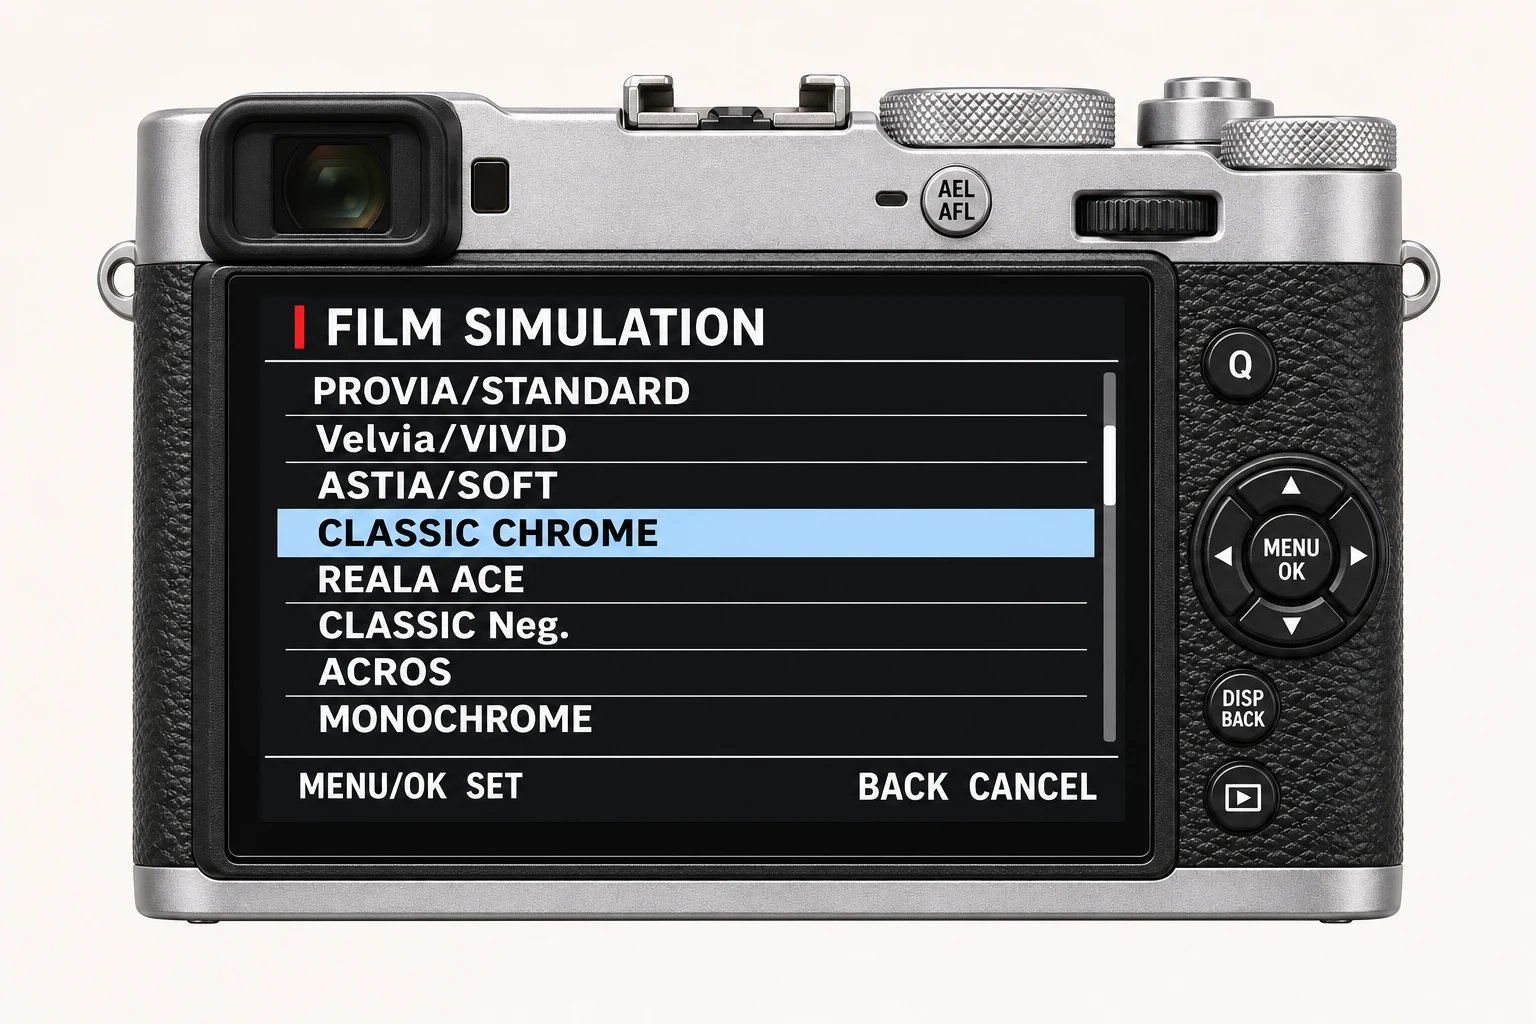
On the X100VI, open MENU/OK > IMAGE QUALITY SETTING > COLOR SPACE. The options are sRGB and Adobe RGB. This defines the colour space for the camera-rendered image. It does not choose a film simulation, add saturation or change the white-balance shift. A wider gamut is not an instruction to make every photograph more colourful.
Choose for the receiving workflow
For everyday viewing and sharing, sRGB is a straightforward starting point. Choose Adobe RGB when a specific colour-managed editing or printing workflow asks for it and you understand the export requirements. A receiving app that ignores colour information can display a file differently, so the destination matters as much as the camera setting.
| Option | A sensible use |
|---|---|
| sRGB | General sharing and workflows expecting sRGB. Also fixed when HEIF is selected on the X100VI. |
| Adobe RGB | A managed workflow that specifically requires this colour space, including some print workflows. |
Do not confuse assignment with conversion
In editing software, assigning a different profile and converting a file to another colour space are different operations. Follow the editor’s conversion workflow for the destination and keep the original separately. A lab may ask for sRGB even if your camera can record Adobe RGB; check the actual lab specification before choosing an export.
Make one end-to-end check
Photograph a subject with saturated and neutral colours. Open the original in your usual editor, export according to the receiving app or lab requirement and inspect that copy on the destination. Check the embedded profile with your editor. If a file looks dull or unexpectedly saturated, inspect profile handling before changing the recipe’s Color or Film Simulation settings.
Four recipes to try next
Choose a community recipe, check it against your camera and take it into the field.