Which Fujifilm Film Simulation Fits Your Photo?
Start with a scene you know. Try a balanced look, a quieter palette or black and white, then choose the one that helps the photograph feel right to you.
 Receptree
See what changes
Try a look
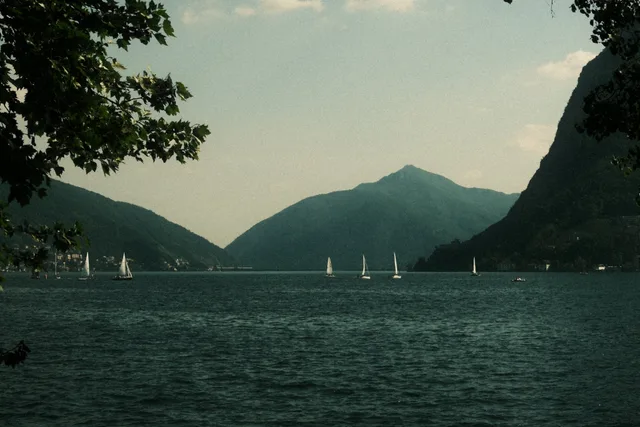
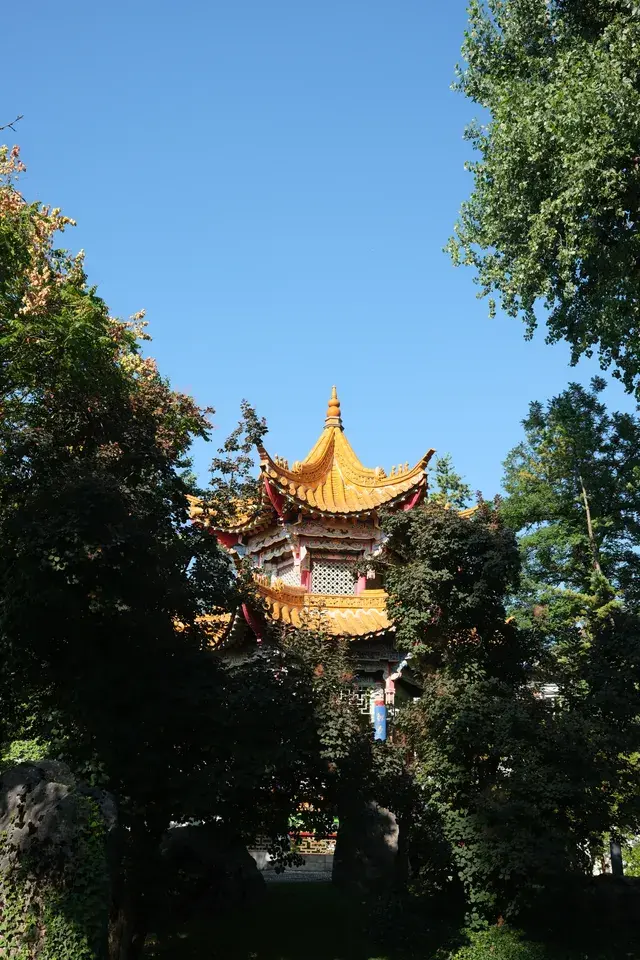 Original
Loading preview…
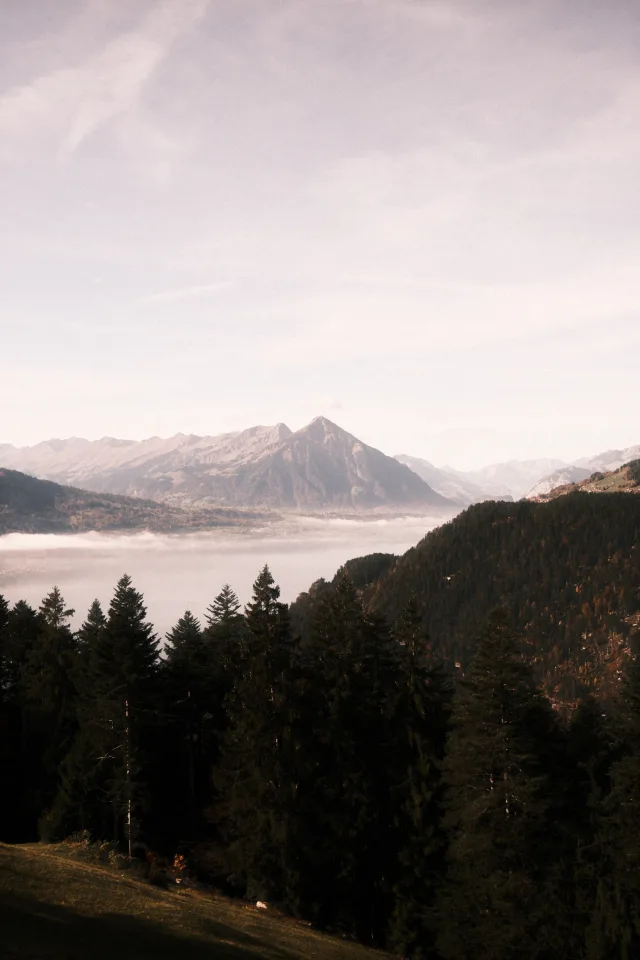
Illustrative preview
An approximation on an existing JPEG, not an exact Fujifilm camera rendering. Watch the roof and foliage, then compare the dark areas. ACROS also helps you judge the scene without colour.
Look at colour, then look into the shadows
On a street, notice painted walls, skin and shaded doorways. Does the palette support the subject? Can you still read the dark areas? Choose the base first; you can refine the smaller recipe controls afterwards.
Here’s where to find it
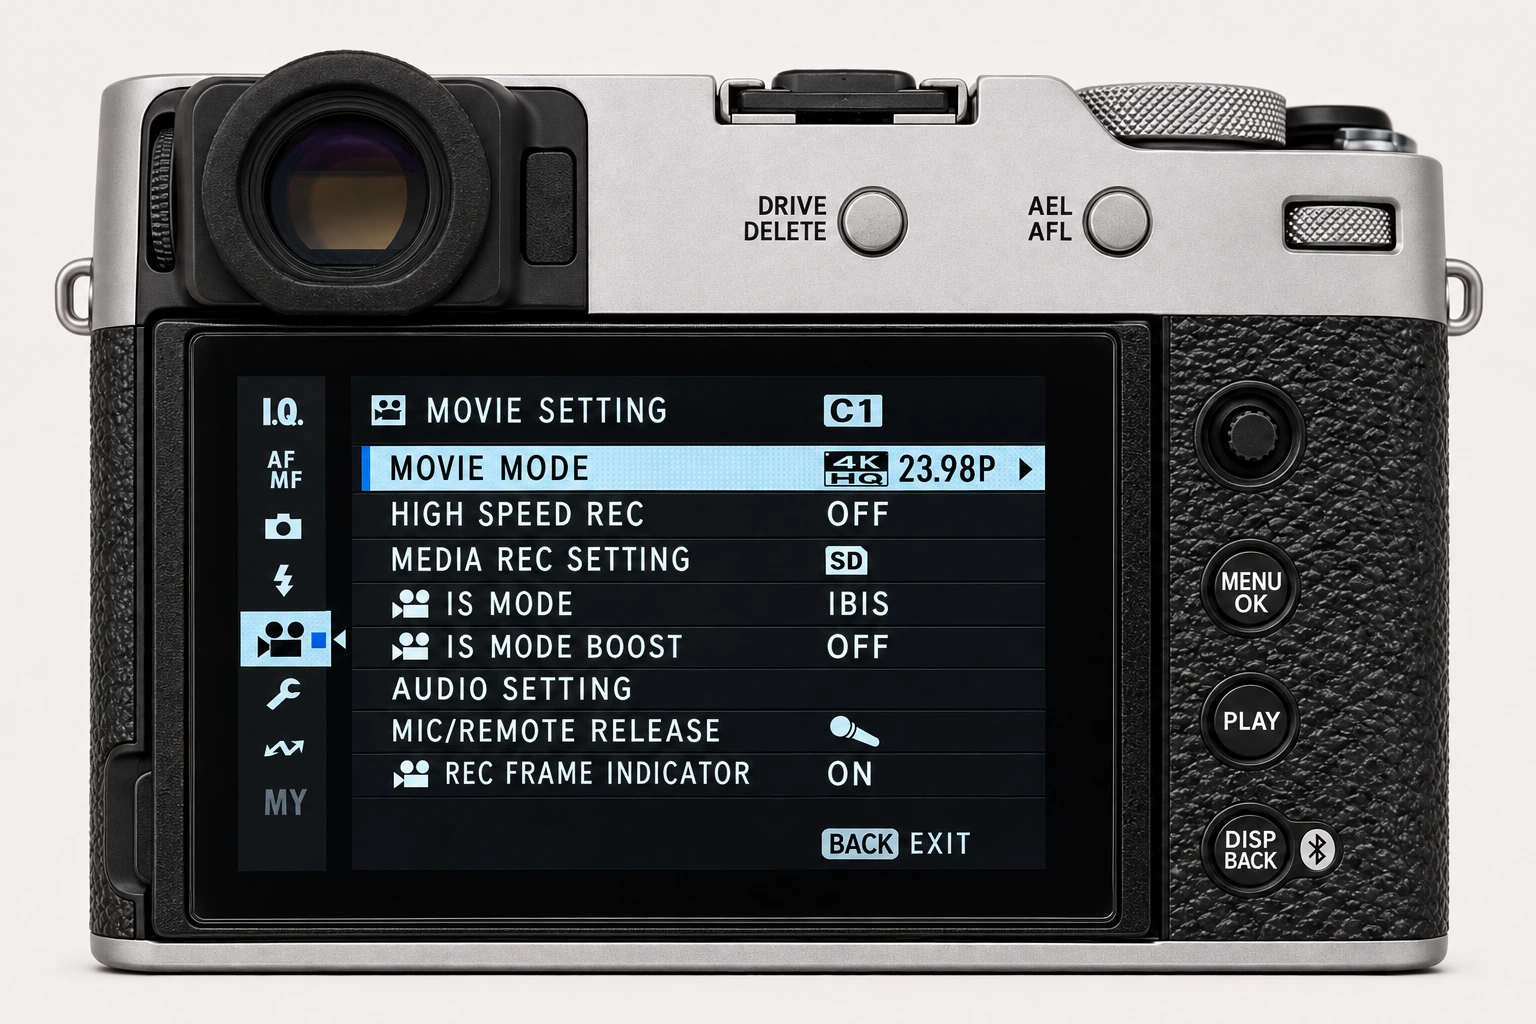
Example camera: Fujifilm X100VI · still-photo mode
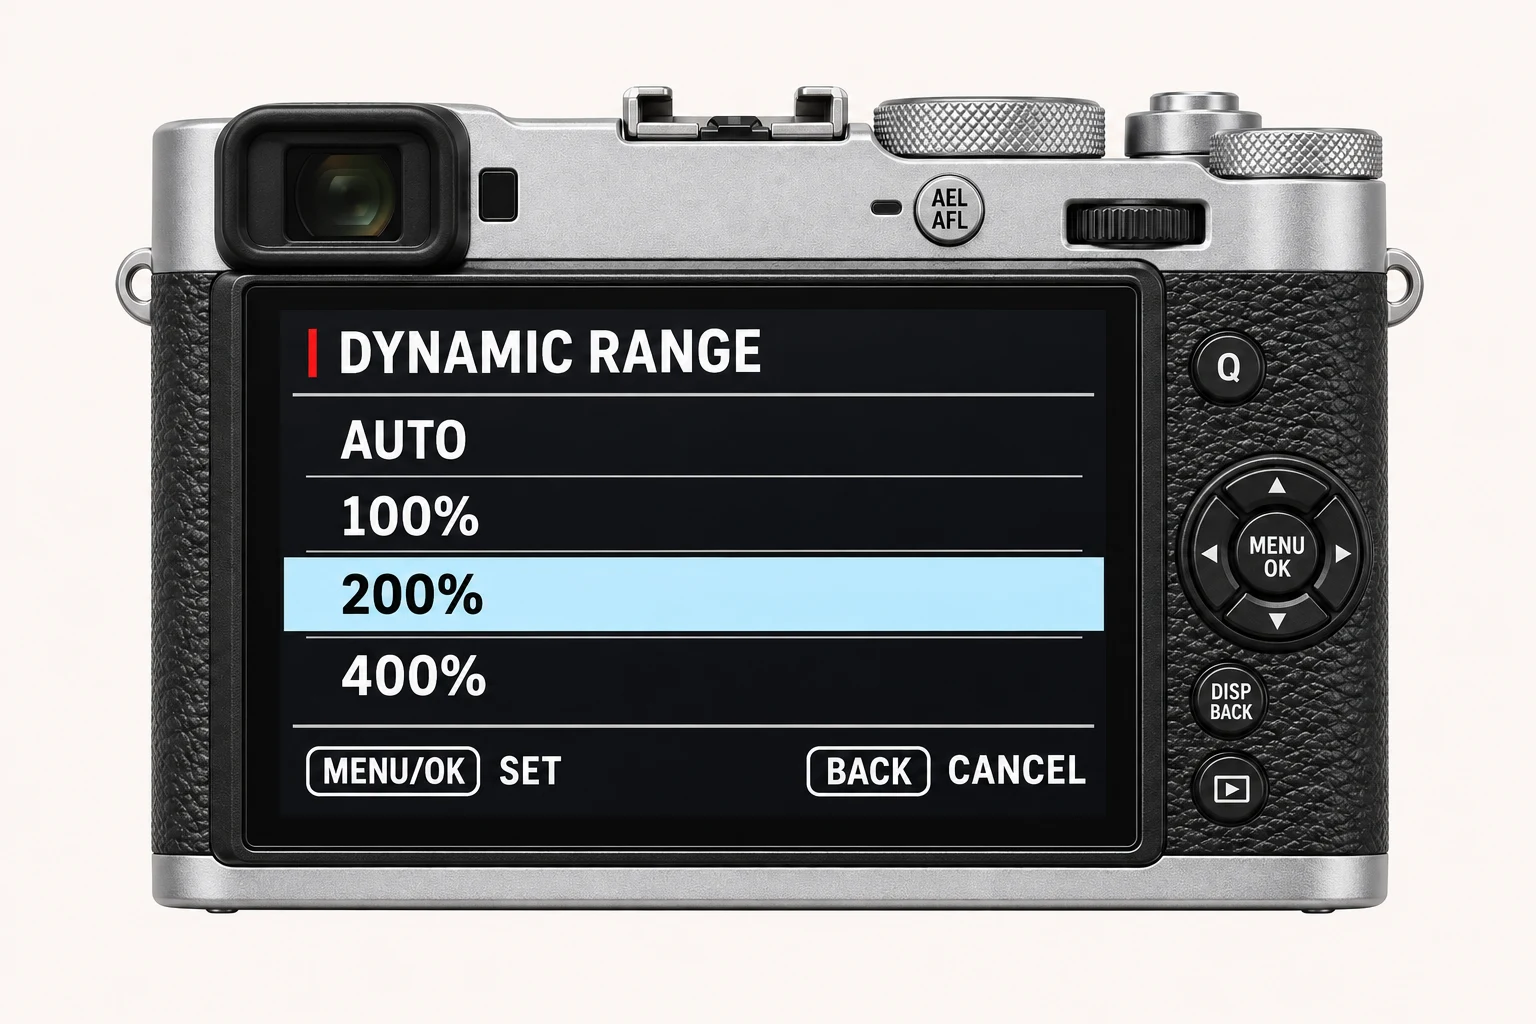
MENU/OK → IMAGE QUALITY SETTING → FILM SIMULATION
- 1
Open the photo menu
From the still-photo shooting display, press MENU/OK. Move left to the category column if you need to change tabs.
- 2
Choose Image Quality Setting
Select the I.Q. tab. Find FILM SIMULATION on the X100VI’s first Image Quality page.
- 3
Pick one base and make a frame
Open FILM SIMULATION, choose a look and confirm with MENU/OK. Keep the other recipe values steady for your first comparison.
Menu layout and available options can differ on other bodies or firmware. Follow the named control rather than relying only on the page number.
Take it into your next frame
Your turn: one scene, two starting points
Photograph the same familiar scene with Provia and Classic Chrome. Compare the finished JPEGs together. Keep the version you would actually want to use on your next walk.
Keep exposure, white balance, tone, grain and lens position unchanged.
A film simulation is the start of a recipe. Pick a base that suits the light before changing everything else.
Find a recipe to try →What this setting does
Film Simulation is Fujifilm’s JPEG rendering base. It establishes the starting relationship between colour, contrast and tonal response before the rest of a recipe refines it. Changing the simulation shifts the overall character of the photograph. The same white balance, tones and scene can feel calmer, denser, softer or more saturated from a different base.
Find it on the X100VI
In the still-photo shooting display, open MENU/OK > IMAGE QUALITY SETTING > FILM SIMULATION. Open Film Simulation on I.Q. page 1/3, then choose the base simulation for your recipe. Menu wording and availability can change with firmware, shooting mode and file format.
Options and practical choices
These options refer to the X100VI still-photo menu. Use them as a checked reference for this body; confirm the corresponding choices in the manual for another camera.
| X100VI option | How to use it |
|---|---|
| PROVIA / STANDARD | A useful reference when learning how the other controls change the JPEG. |
| Classic Chrome / Classic Neg. / Reala Ace | Different colour and tone starting points. A matching recipe needs the same base simulation. |
| ACROS / MONOCHROME | Black-and-white bases with optional colour-filter variants; use Monochromatic Color for a tint. |
| Other simulations | The X100VI also offers Velvia, Astia, Pro Neg. Hi/Std, Nostalgic Neg., Eterna, Eterna Bleach Bypass and Sepia. Availability on other bodies differs. |
When to use it
Choose it first, after deciding what the scene needs. Keep it fixed while testing the smaller recipe controls.
Common mistakes and interactions
Do not treat it as a guarantee that a copied recipe will match a sample image in different light or on another camera.
- Hold white balance fixed when comparing bases: an automatic balance change can hide the difference you are trying to judge.
- Recheck Color and Tone Curve after changing the base; the same values are adjustments to a different rendering.
Try a controlled comparison
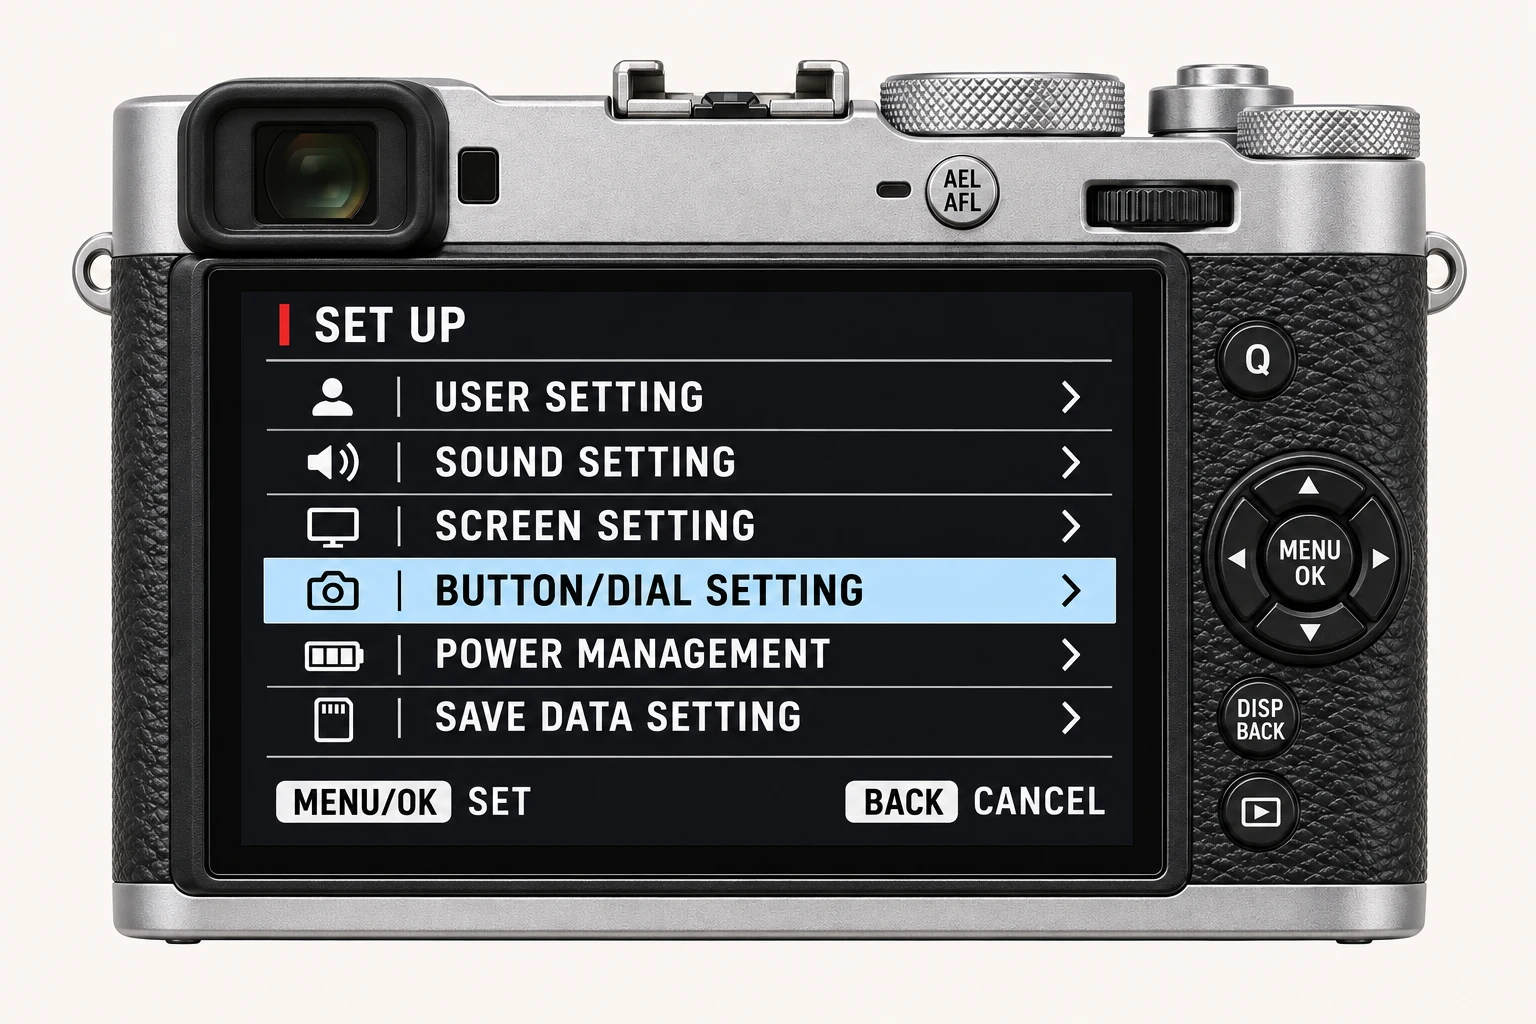
Photograph one stable scene with the same exposure and white balance. Change only the simulation, then compare the JPEGs before adding recipe adjustments. Keep the original files, label the settings and compare at both full resolution and the size you will share. The menu illustration shows controls, not a simulated photographic result.
Using a different Fujifilm camera
The simulation list varies by camera and firmware. Confirm the exact name in your camera menu before treating a recipe as transferable. The numerical options and menu path above are checked for the X100VI. They are not a compatibility promise for every X Series or GFX body.
Four recipes to try next
Choose a community recipe, check it against your camera and take it into the field.