Fujifilm Flash Settings: Built-In Flash, TTL and Wireless Controls
Find the X100VI flash controls, separate flash output from ambient exposure and understand why available options depend on the connected flash and shutter setup.
 Receptree
Applies to: Menu paths and options checked for the Fujifilm X100VI. The explanations introduce Fujifilm controls; availability on other models and firmware must be checked in their own manuals.
Find the correct flash controls
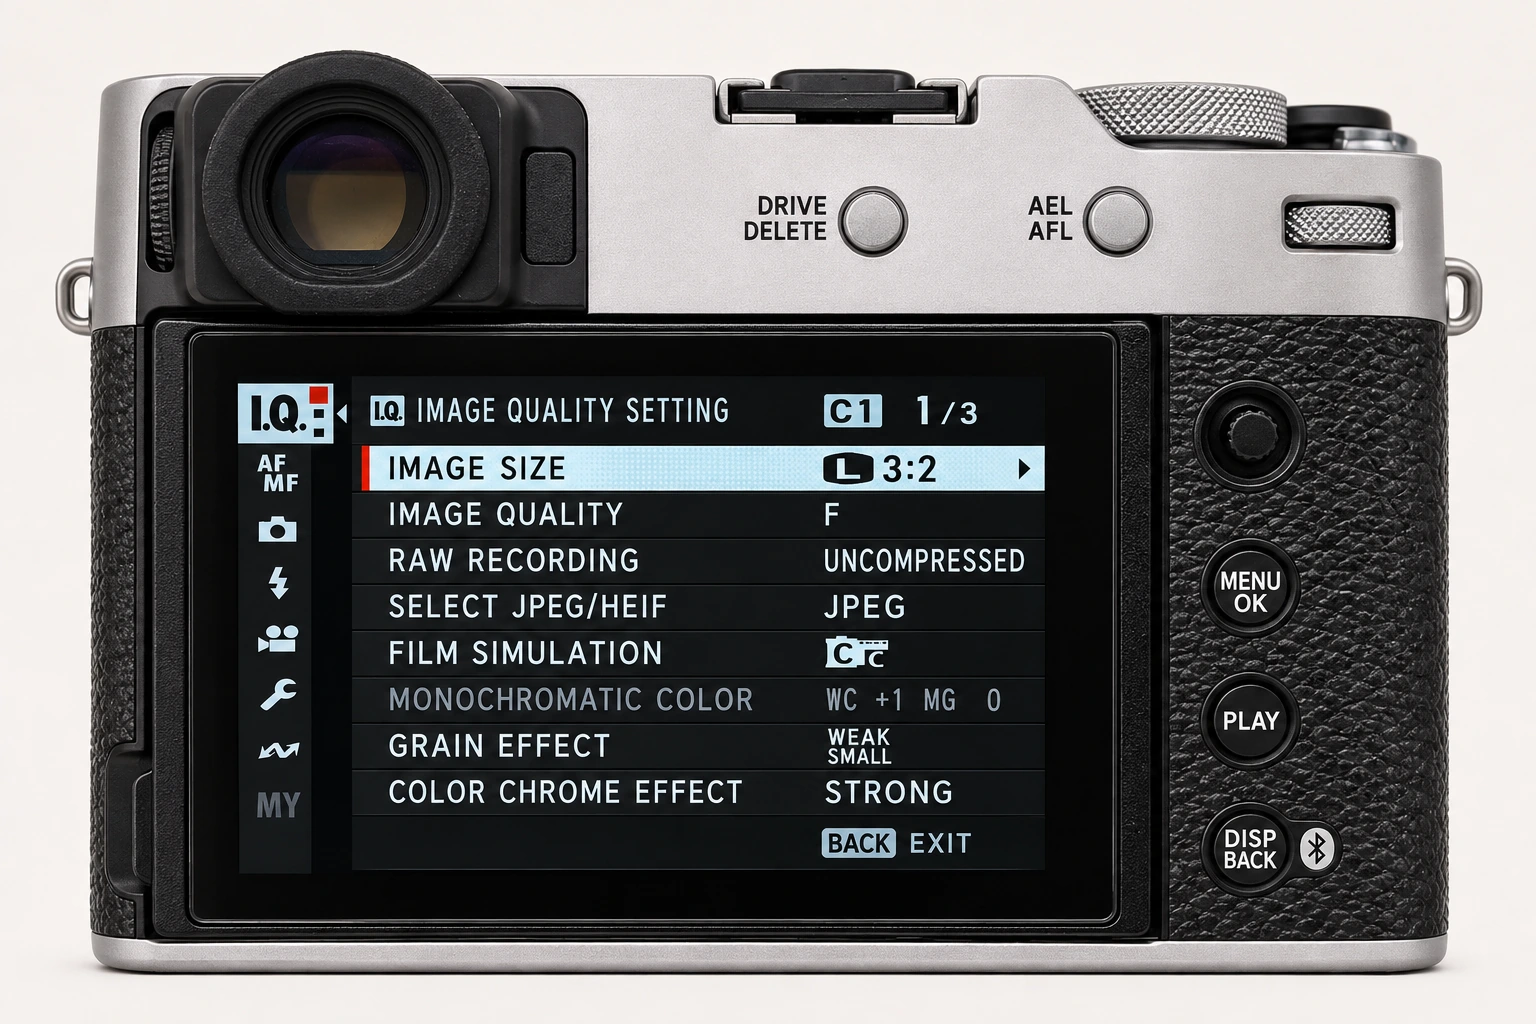
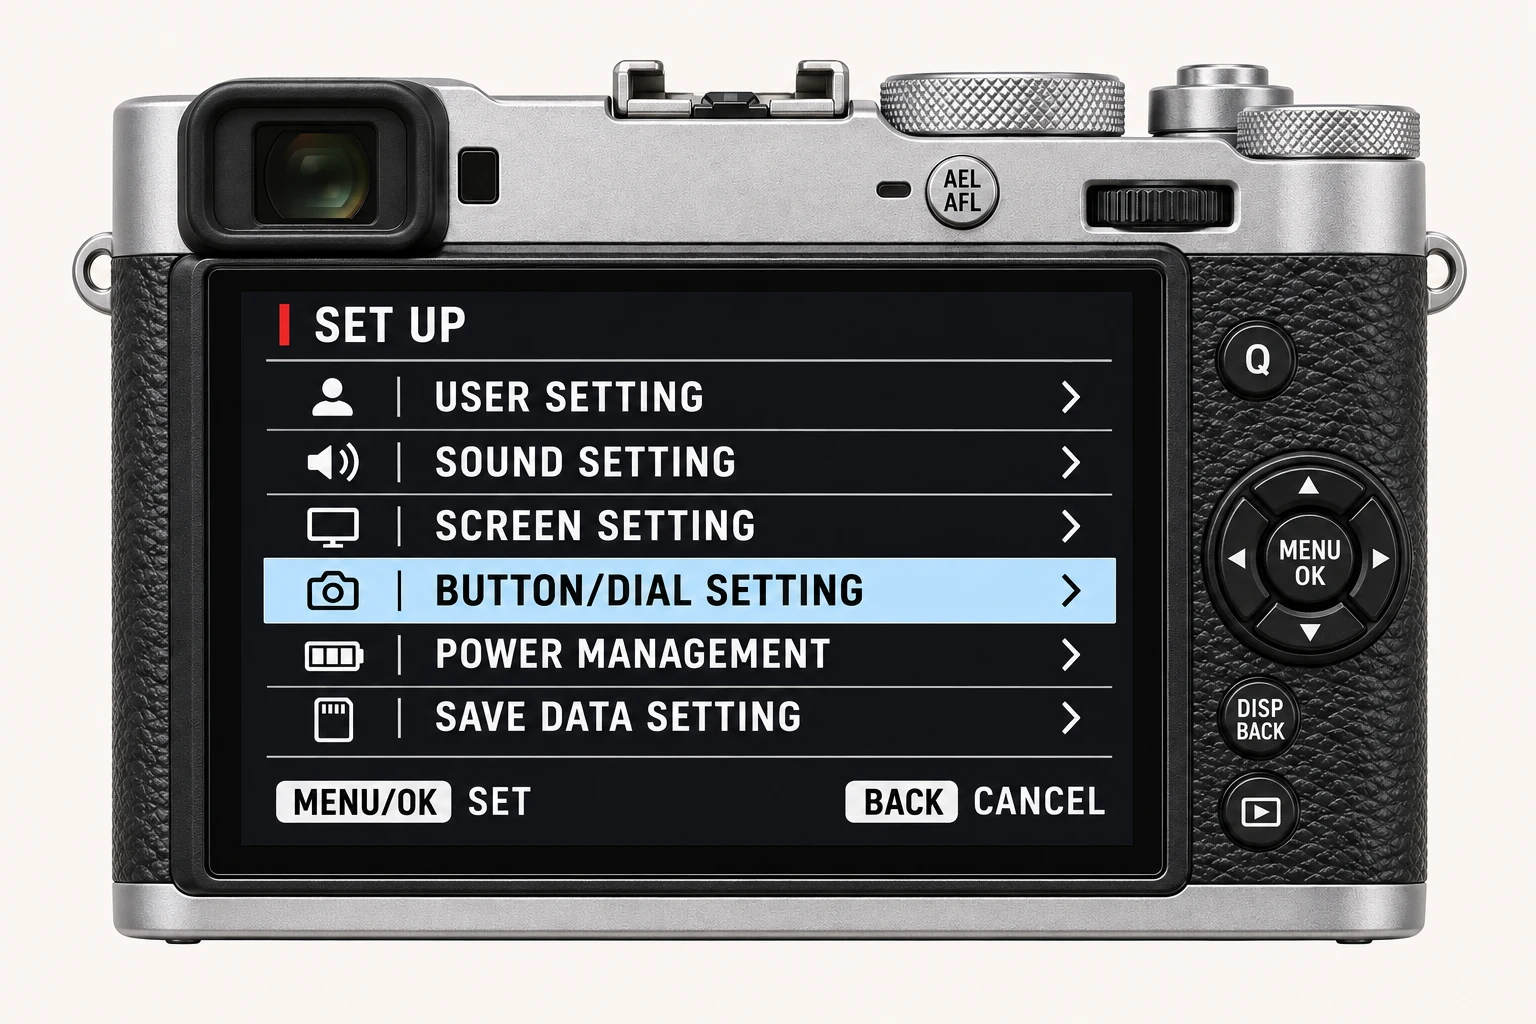
From the X100VI still-photo display, open MENU/OK > FLASH SETTING. FLASH FUNCTION SETTING is where flash control, flash mode, sync and flash level are configured. Its available options depend on the flash in use. BUILT-IN FLASH enables or disables the camera flash; do not assume that switching it on guarantees a flash in every drive and shutter configuration.
Separate subject lighting and ambient light
In a simple fill-flash portrait, first decide how the background should look using the ambient exposure. Then inspect the light added to the subject. If TTL control is available, use flash compensation to refine that added light while keeping the rest steady. With manual flash control, adjust output deliberately for a repeatable distance. A change in subject distance can change the result, even with the same recipe.
Understand the supporting settings
RED EYE REMOVAL configures the flash red-eye treatment. TTL-LOCK MODE determines how a TTL flash measurement is held for a sequence. LED LIGHT SETTING only applies to compatible flash units with an LED. COMMANDER SETTING and CH SETTING concern supported optical wireless flash systems. They are not generic Bluetooth pairing controls.
| Control | Check before changing it |
|---|---|
| TTL-LOCK MODE | Choose a previous measurement or a metering flash only when using a TTL-lock workflow. |
| COMMANDER / CH SETTING | Match supported groups and channels between the commander and remote flashes. |
| BUILT-IN FLASH | Check whether the built-in unit should participate when using an external flash. |
If flash is unavailable
Check that the flash is ready, the intended unit is enabled and the shooting mode and shutter type permit flash. Do not transfer sync-speed assumptions from a different camera: the X100VI uses a different shutter design from many interchangeable-lens bodies. Consult the camera and flash manuals for the exact combination before diagnosing a disabled item as a fault.
Try a short fill-flash sequence
Use a stationary subject with a darker foreground and brighter background. Make an ambient reference, then a flash frame and one modest output adjustment. Keep distance and exposure fixed, compare skin highlights and the background, and check recycling before the next frame. Record flash output separately from the film recipe so the lighting setup can be repeated.
Four recipes to try next
Choose a community recipe, check it against your camera and take it into the field.