Fujifilm Grain Effect and Grain Size: Texture as a Recipe Choice
Use Grain Effect and Grain Size as an intentional texture choice, not as a generic retro filter applied after every other setting.
 Receptree
Applies to: Fujifilm image-quality settings, with menu paths and options checked against the X100VI still-photo manual. Other models and firmware can differ.
Try a look
 Original
Loading preview…
Illustrative preview
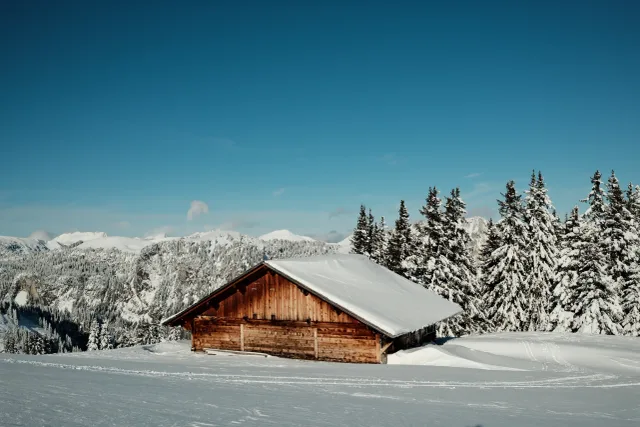
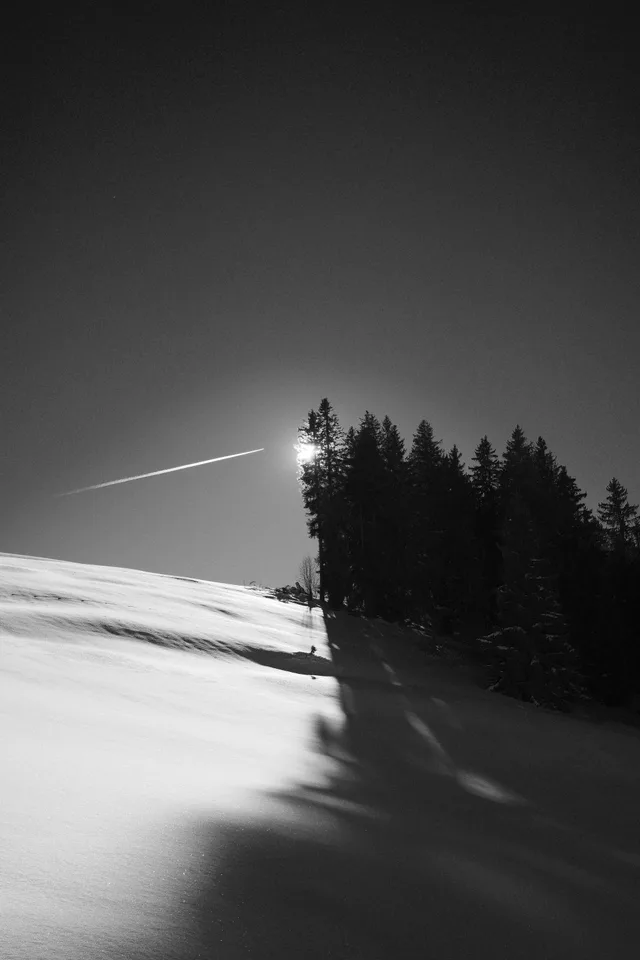
An approximation on an existing JPEG, not an exact Fujifilm camera rendering. Watch smooth sky and midtones. This uses the Lab’s illustrative grain overlay, not actual film grain or camera noise.
What this setting does
Grain Effect adds texture to Fujifilm JPEG rendering; Grain Size controls the scale of that texture on compatible cameras. The result is most apparent in even tones, shadows and at larger viewing sizes. Grain can change how a clean digital image feels without changing the scene itself.
Find it on the X100VI
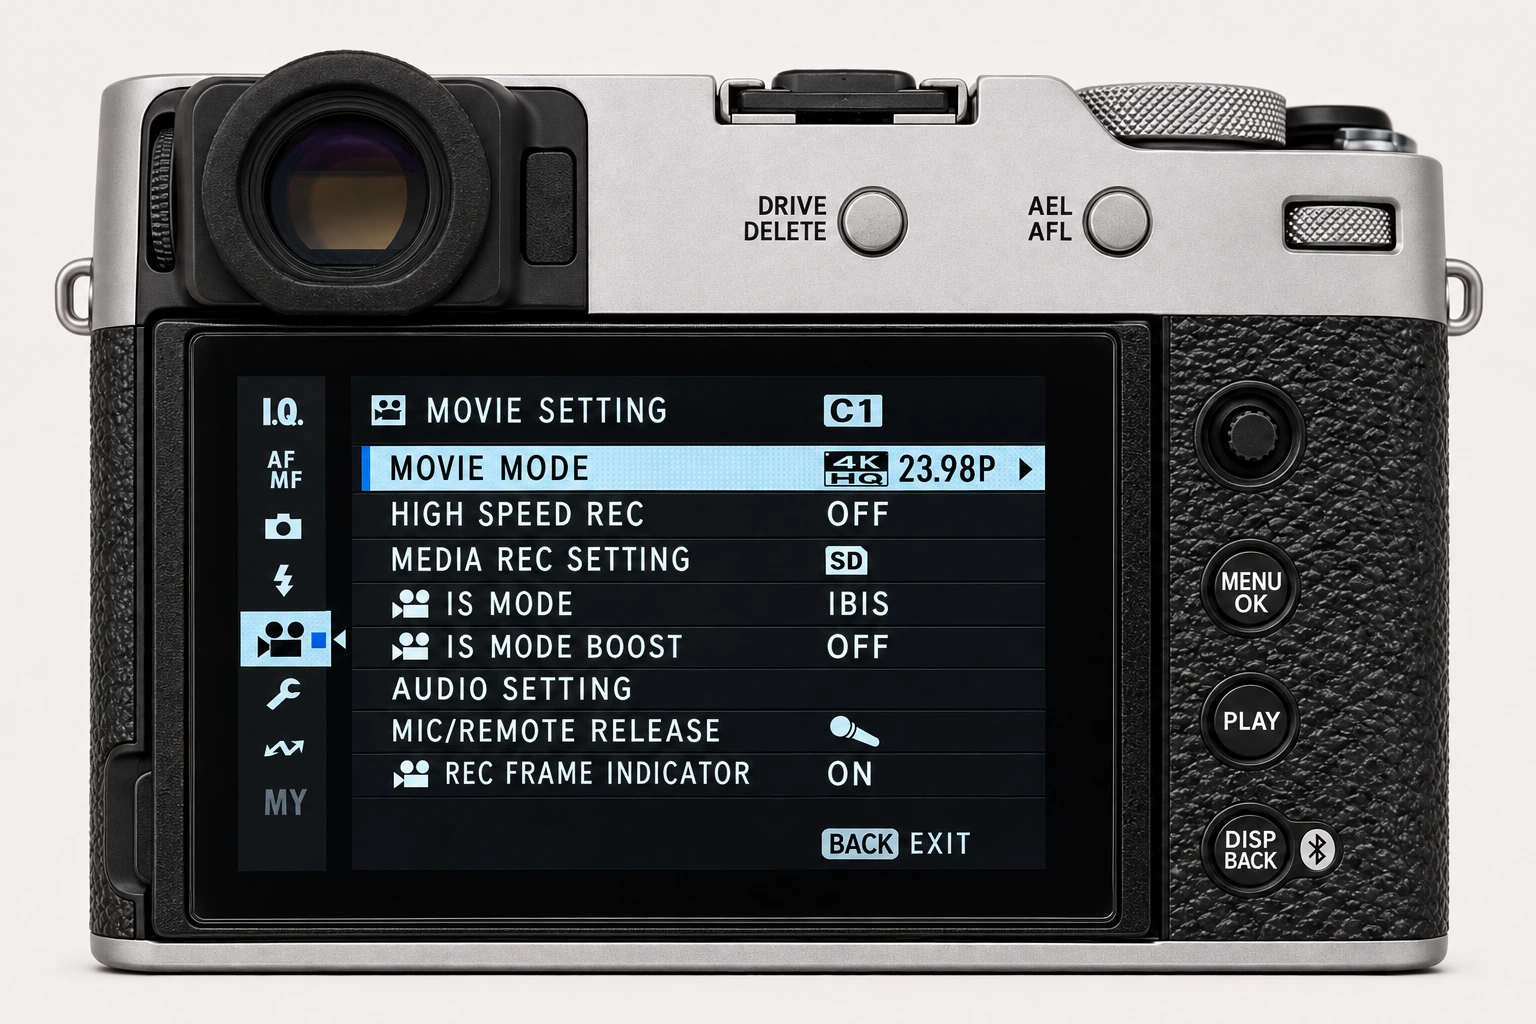
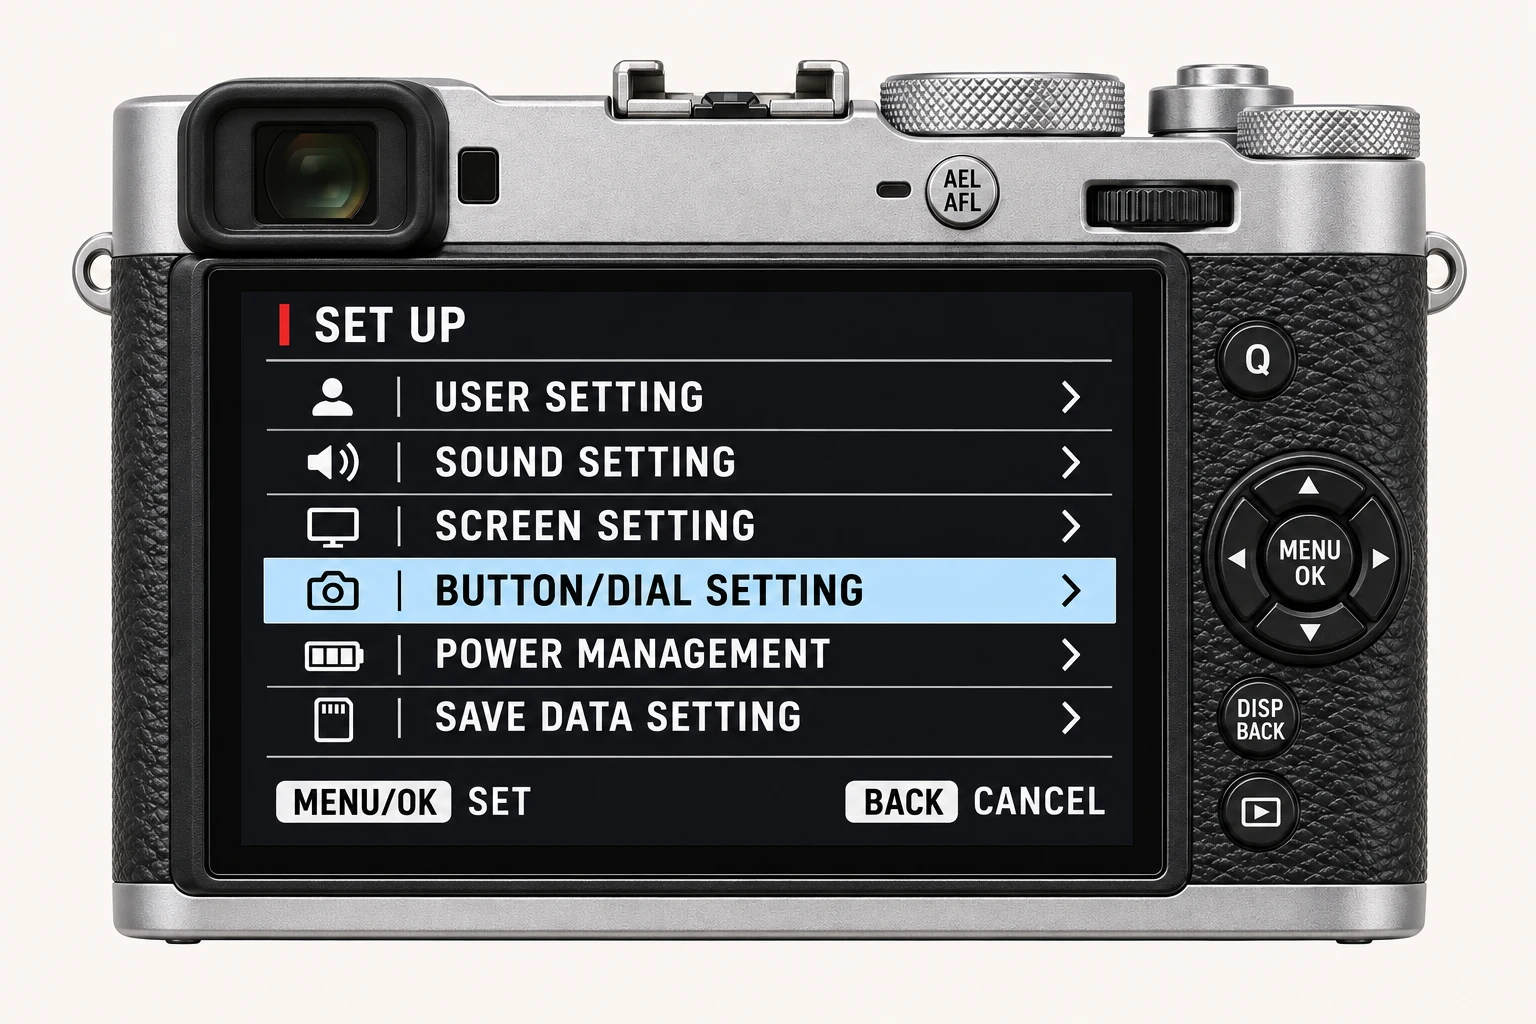
In the still-photo shooting display, open MENU/OK > IMAGE QUALITY SETTING > GRAIN EFFECT. Open Grain Effect on I.Q. page 1/3. Set roughness and size separately in its submenu. Menu wording and availability can change with firmware, shooting mode and file format.
Options and practical choices
These options refer to the X100VI still-photo menu. Use them as a checked reference for this body; confirm the corresponding choices in the manual for another camera.
| X100VI option | How to use it |
|---|---|
| ROUGHNESS: OFF / WEAK / STRONG | Controls whether grain is added and how strongly it is rendered. |
| SIZE: SMALL / LARGE | Controls grain scale separately from roughness. Compare at the intended output size. |
When to use it
Use it when texture supports the look and the intended output size makes the choice visible.
Common mistakes and interactions
Avoid evaluating grain only from a tiny preview, or using it to hide an unsuitable exposure or excessive noise.
- Compare grain at the final output size; resizing can change its apparent strength and scale.
- Keep Sharpness and High ISO NR fixed so added grain is not confused with sharpening or sensor noise.
Try a controlled comparison
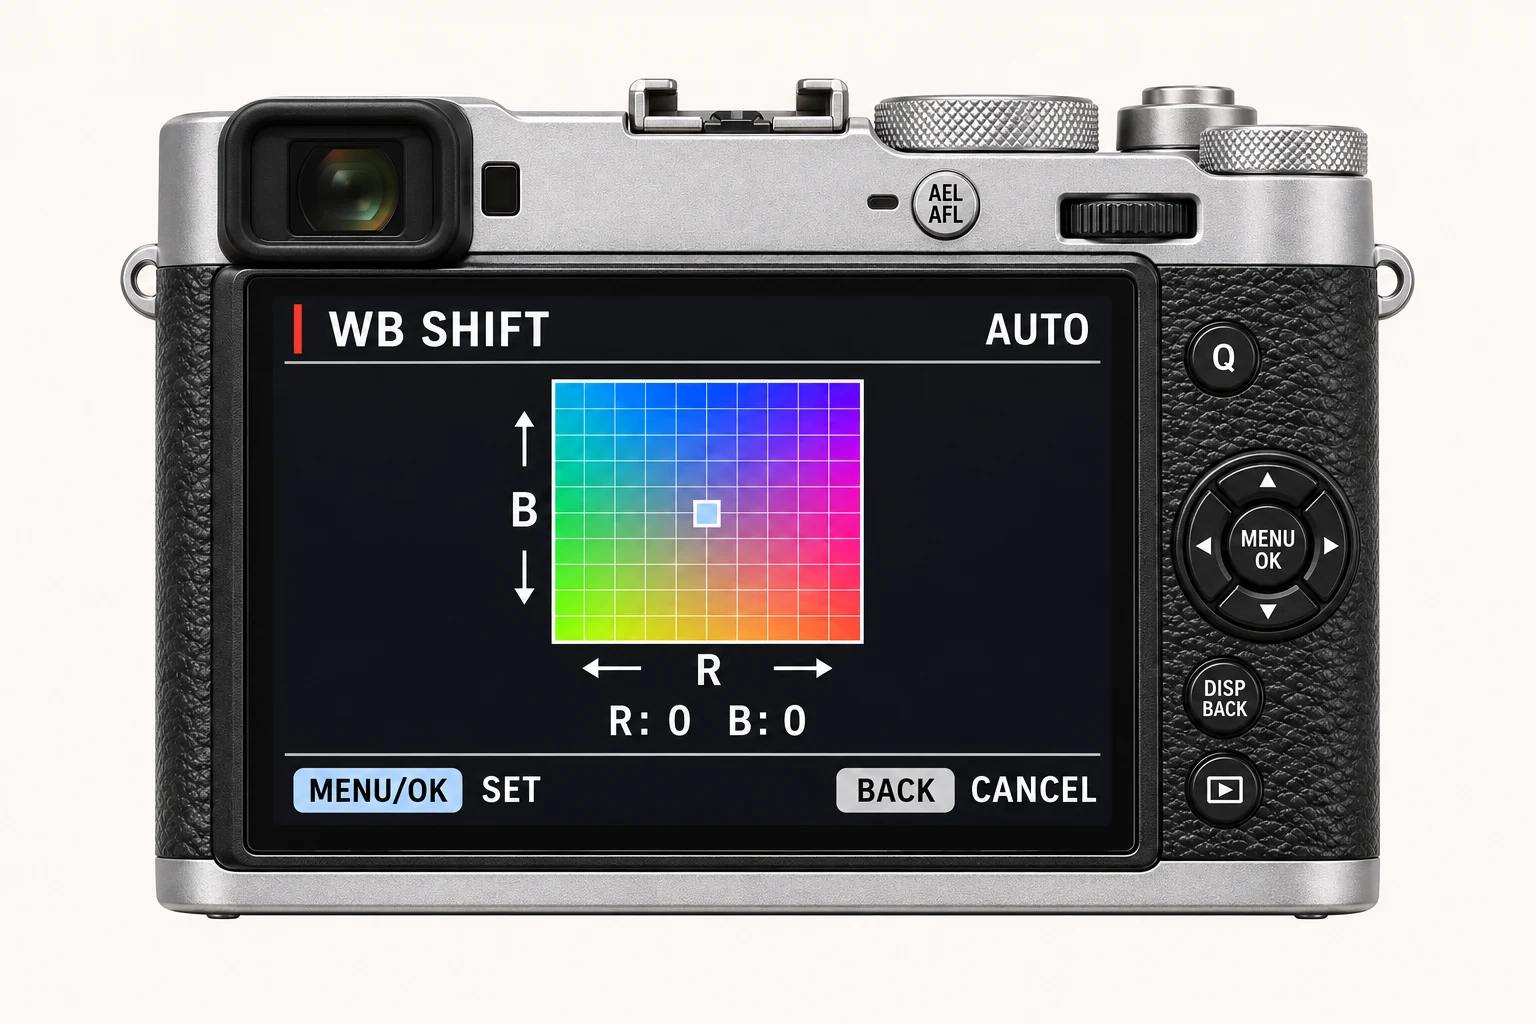
Use a scene with even tones and fine detail. Compare Grain Off, Weak and Strong at the intended export size; then compare Grain Size where the camera offers it. Keep the original files, label the settings and compare at both full resolution and the size you will share. The menu illustration shows controls, not a simulated photographic result.
Using a different Fujifilm camera
Grain Effect and Grain Size are separate capabilities. Older bodies may offer Grain Effect but not Grain Size. The numerical options and menu path above are checked for the X100VI. They are not a compatibility promise for every X Series or GFX body.
Four recipes to try next
Choose a community recipe, check it against your camera and take it into the field.