Fujifilm White Balance Shift: Make the Colour Feel Right
If a photo feels too cool, too warm or slightly green, start here. Choose the white-balance base, then move one R or B step and see whether it helps.
 Receptree
See what changes
Try a look
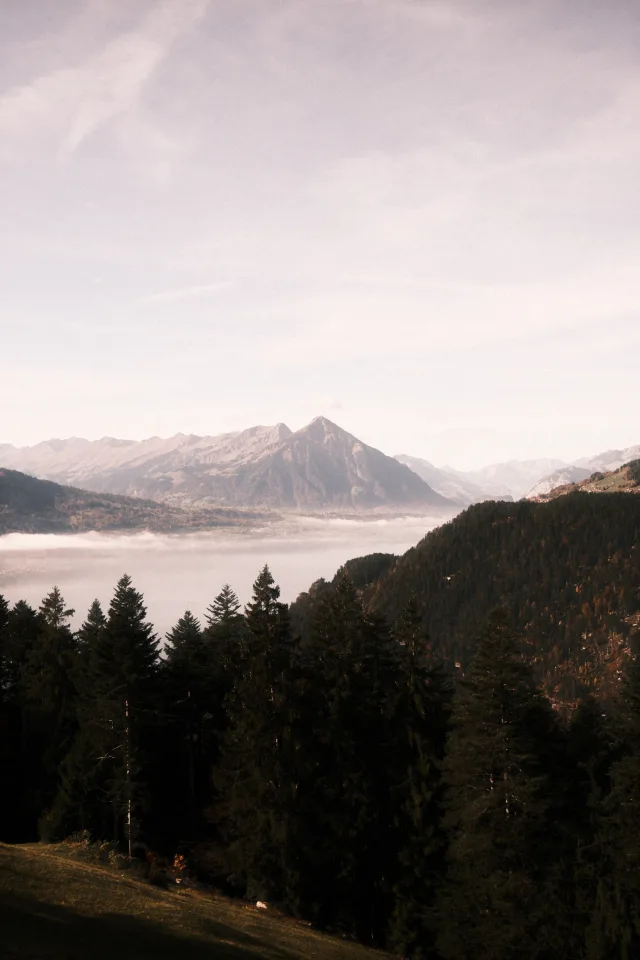
 Original
Loading preview…
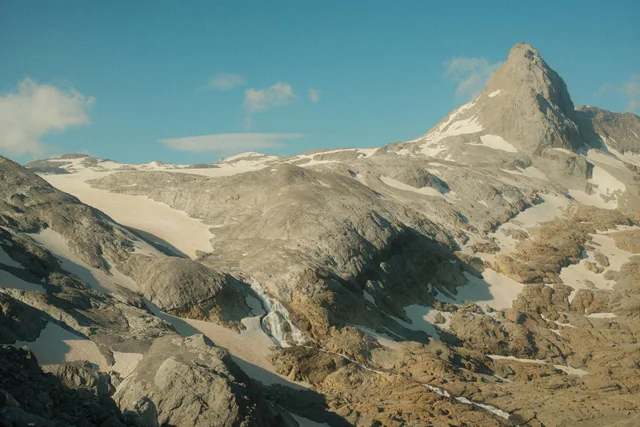
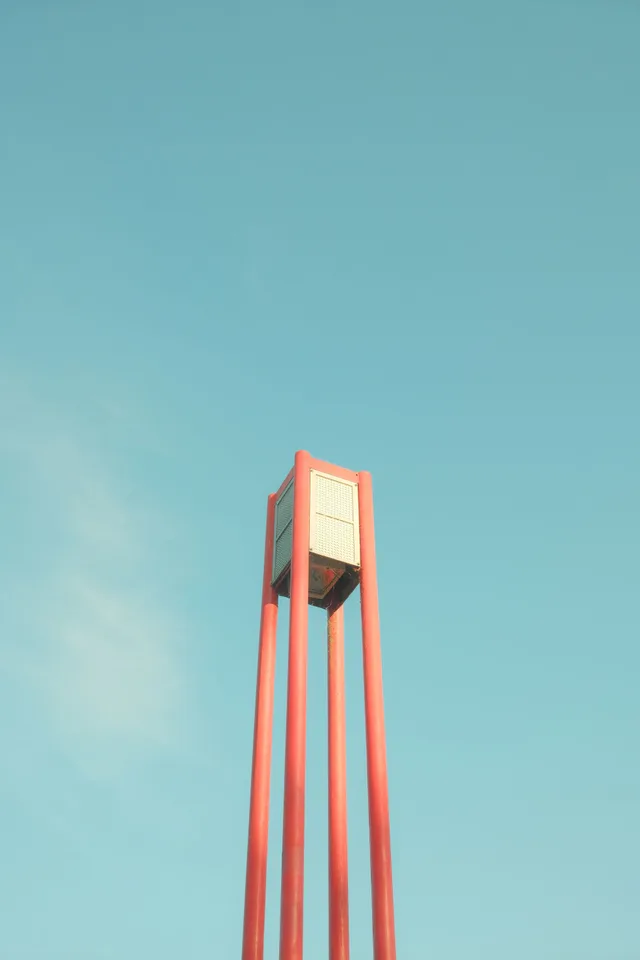
Illustrative preview
An approximation on an existing JPEG, not an exact Fujifilm camera rendering. Watch the pale facade and sky. A base-mode change and an R/B shift are separate choices.
Use a neutral surface as your reference
Find a white wall, a grey pavement or a piece of paper in the same light as your subject. Watch that surface and any skin tones as you change one axis. You are choosing a colour direction, not repairing every light source in the scene.
Here’s where to find it
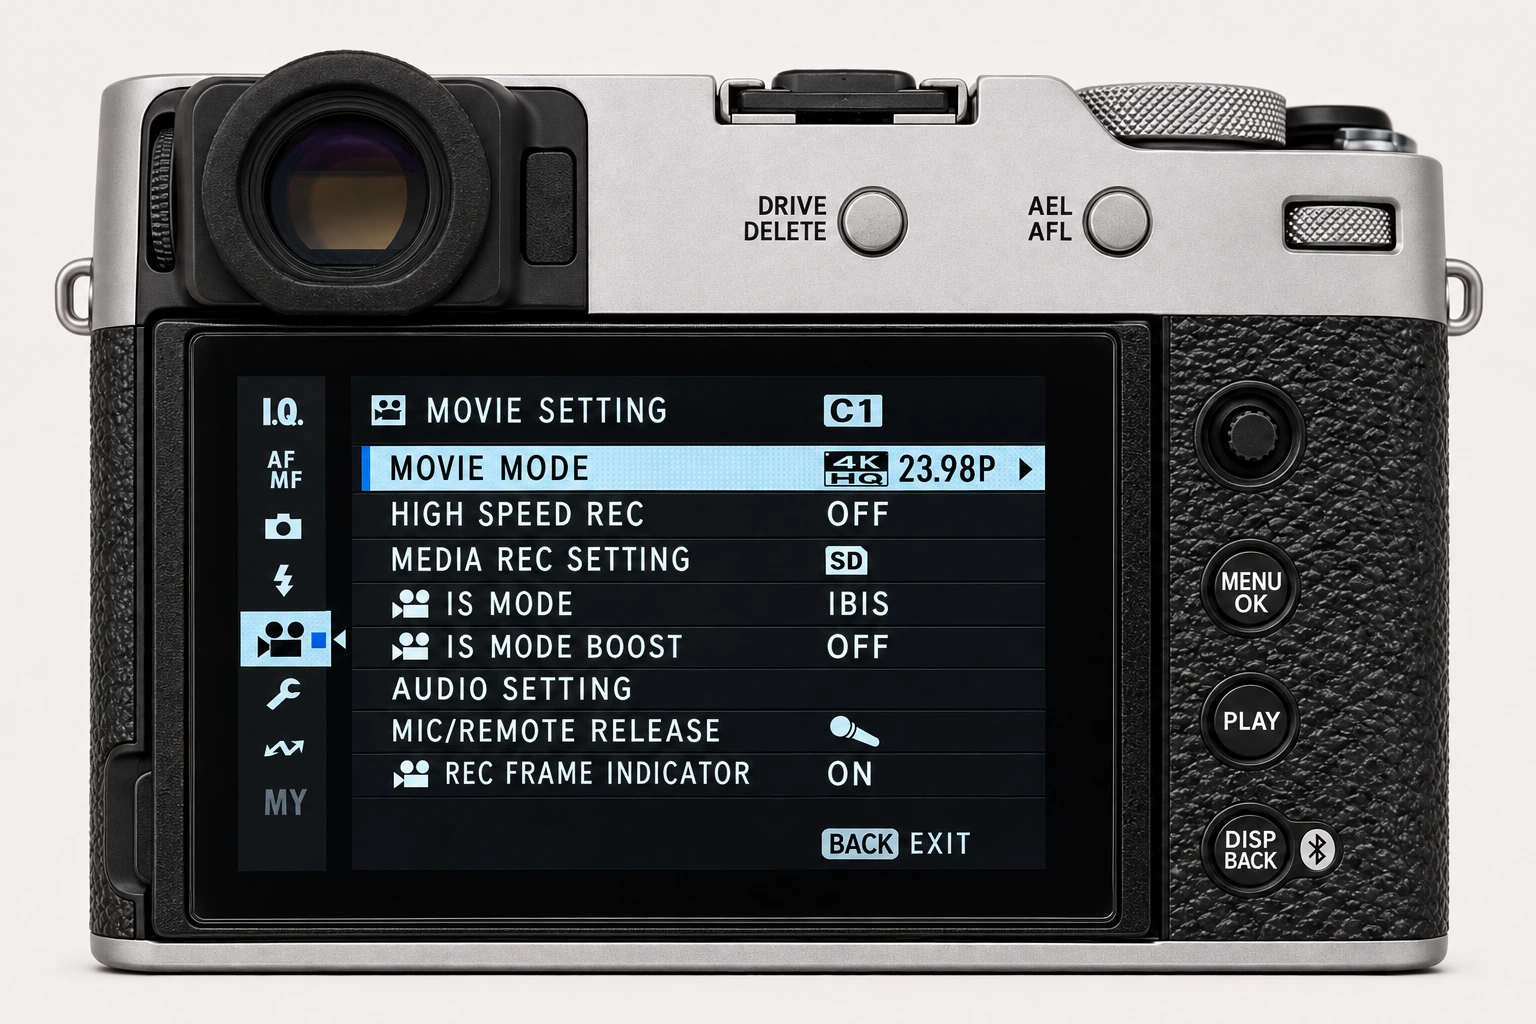
Example camera: Fujifilm X100VI · still-photo mode
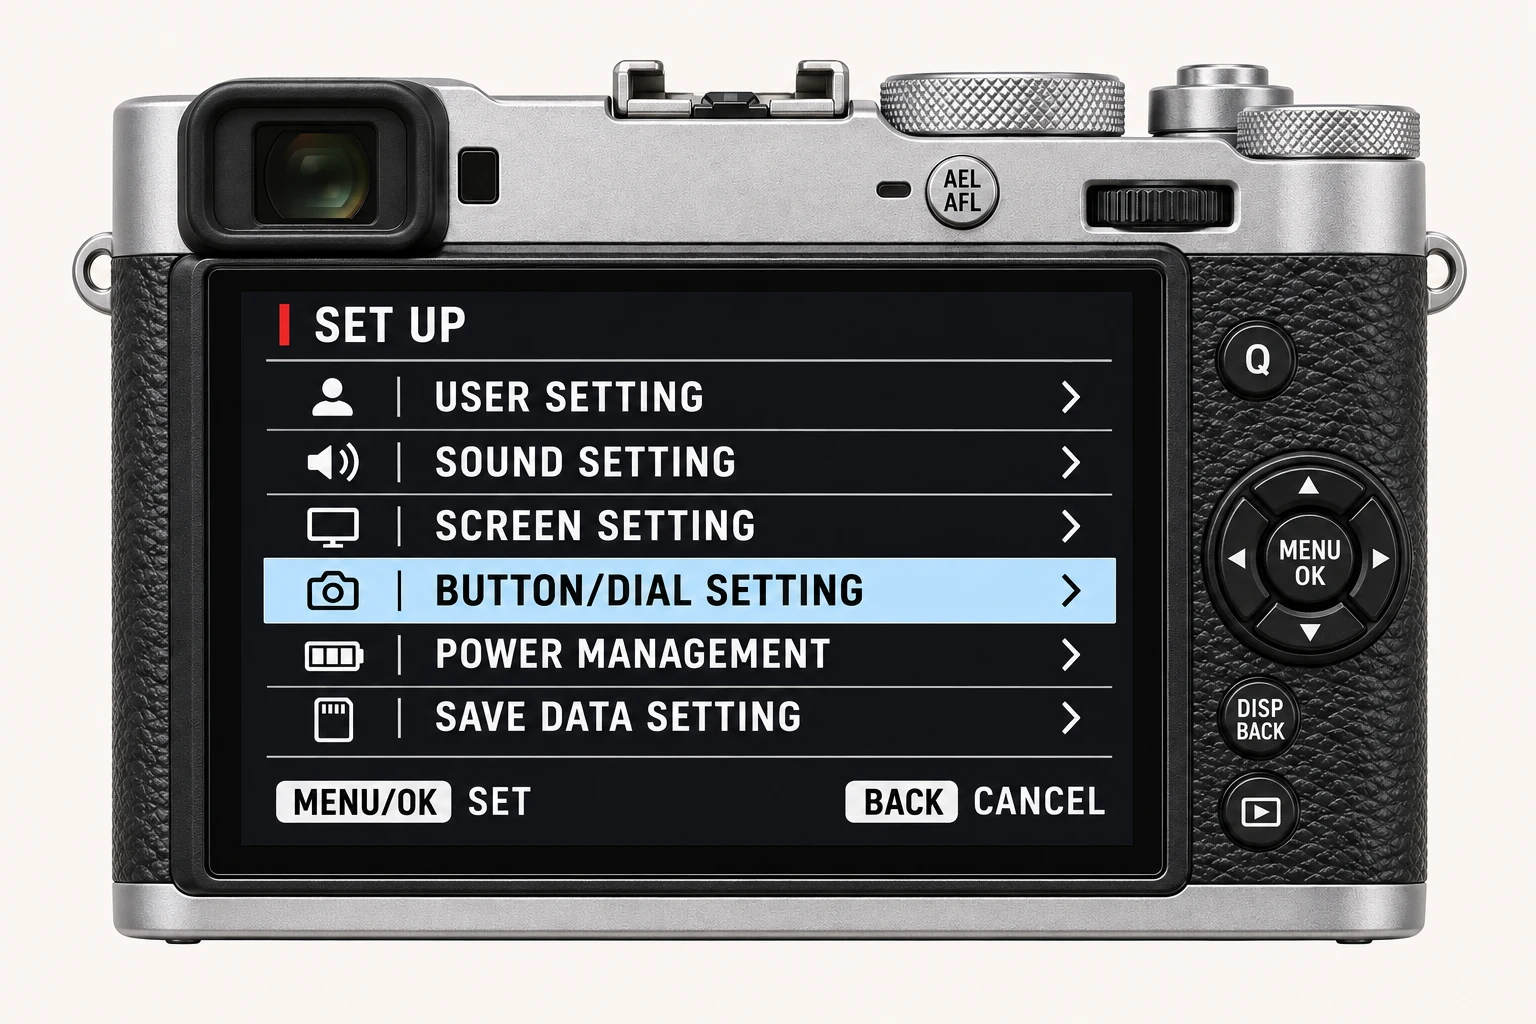
MENU/OK → IMAGE QUALITY SETTING → WHITE BALANCE → choose a base → fine adjustment
- 1
Find White Balance
From the still-photo display, open MENU/OK → IMAGE QUALITY SETTING → WHITE BALANCE. On the X100VI it is on I.Q. page 2/3.
- 2
Choose the base before the shift
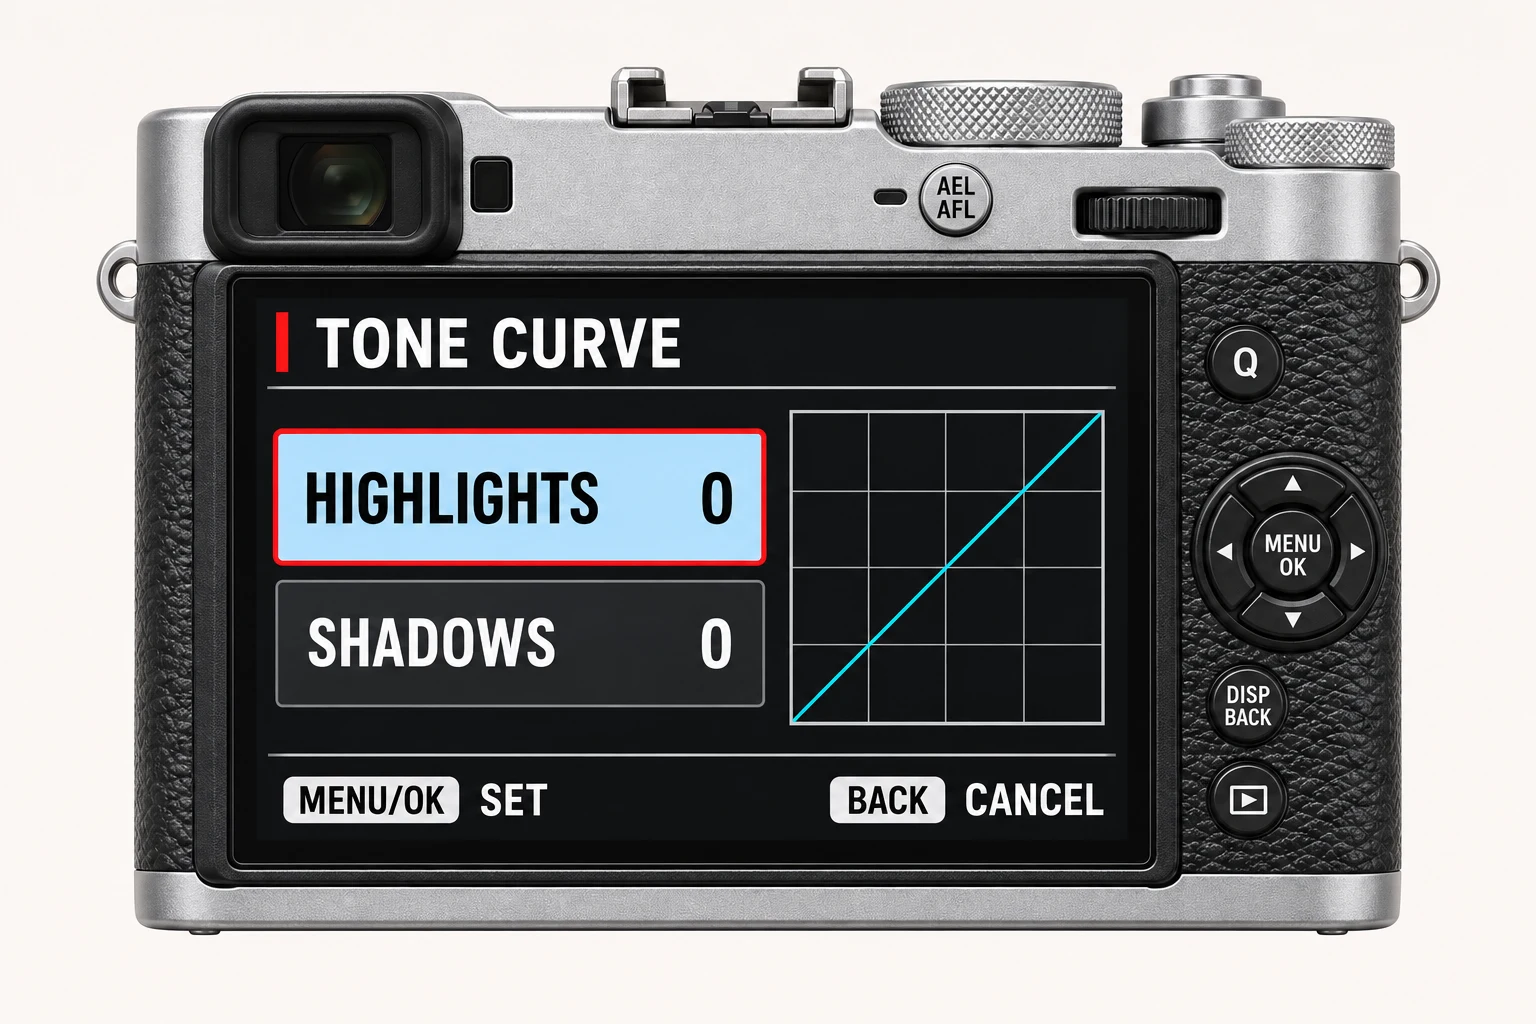
Choose Auto, Daylight, a colour temperature or another suitable base. Press MENU/OK to open the fine-adjustment grid.
- 3
Move one axis and confirm
Use the focus stick left/right for R or up/down for B. Note both numbers and confirm with MENU/OK. Copy the base mode as well as the R/B values when using a recipe.
Choose the white-balance mode before adjusting the shift
Menu layout and available options can differ on other bodies or firmware. Follow the named control rather than relying only on the page number.
Take it into your next frame
Your turn: make three small variations
With a fixed base such as Daylight, make a reference at R 0 / B 0. Try one positive R step, then return to the reference and try one negative B step. Compare your originals before combining the changes.
Keep the light, exposure, film simulation and white-balance base unchanged.
The base and the shift work together. The same R/B numbers with a different base do not guarantee the same colour.
Find a recipe to try →What this setting does
White Balance sets the neutral starting point for colour. White Balance Shift then moves that starting point along red/cyan and blue/yellow axes. A shift can make the same scene feel warmer, cooler, more magenta or greener, often more noticeably than a small Color adjustment.
Find it on the X100VI
In the still-photo shooting display, open MENU/OK > IMAGE QUALITY SETTING > WHITE BALANCE. Find White Balance on I.Q. page 2/3, choose the mode and open its fine adjustment to enter the red/blue shift. Menu wording and availability can change with firmware, shooting mode and file format.
Options and practical choices
These options refer to the X100VI still-photo menu. Use them as a checked reference for this body; confirm the corresponding choices in the manual for another camera.
| X100VI option | How to use it |
|---|---|
| AUTO / WHITE PRIORITY / AMBIENCE PRIORITY | Automatic balance; the priority modes treat warm indoor light differently. A changing scene may change the result. |
| DAYLIGHT / SHADE / light-source presets | A fixed starting point for repeatable colour in similar light. |
| COLOR TEMPERATURE / CUSTOM 1–3 | Choose 2500–10000 K on the X100VI, or measure a custom reference. |
| R/B fine adjustment | Select the base, then press MENU/OK to open fine adjustment. Copy both the base mode and the two shift values. |
When to use it
Use a fixed white-balance base and modest shifts when a recipe needs repeatable colour direction across a deliberate test sequence.
Common mistakes and interactions
Avoid judging a shift from one mixed-light scene or expecting Auto White Balance to react identically from scene to scene.
- Copy the white-balance base and R/B shift together. A Daylight shift and an Auto shift with the same numbers can produce different colour.
- Hold Film Simulation and Color fixed. A tint problem is easier to diagnose before changing saturation.
Try a controlled comparison
Keep exposure and film simulation fixed. Photograph neutral and coloured subjects in one light, then change one R or B step at a time. Keep the original files, label the settings and compare at both full resolution and the size you will share. The menu illustration shows controls, not a simulated photographic result.
Using a different Fujifilm camera
Axis labels and value ranges can differ by model. Copy both the white-balance mode and the R/B shift from a recipe. The numerical options and menu path above are checked for the X100VI. They are not a compatibility promise for every X Series or GFX body.
Four recipes to try next
Choose a community recipe, check it against your camera and take it into the field.