Fujifilm Sharpness: Edge Definition Without Overprocessing
Understand Sharpness as an edge-definition control and keep it separate from focus, Clarity and Noise Reduction.
 Receptree
Applies to: Fujifilm image-quality settings, with menu paths and options checked against the X100VI still-photo manual. Other models and firmware can differ.
What this setting does
Sharpness adjusts edge rendering in the camera’s JPEG output. It changes the treatment of detail, not whether the photograph is focused. Higher values can make edges feel more defined; lower values can leave a gentler edge transition.
Find it on the X100VI
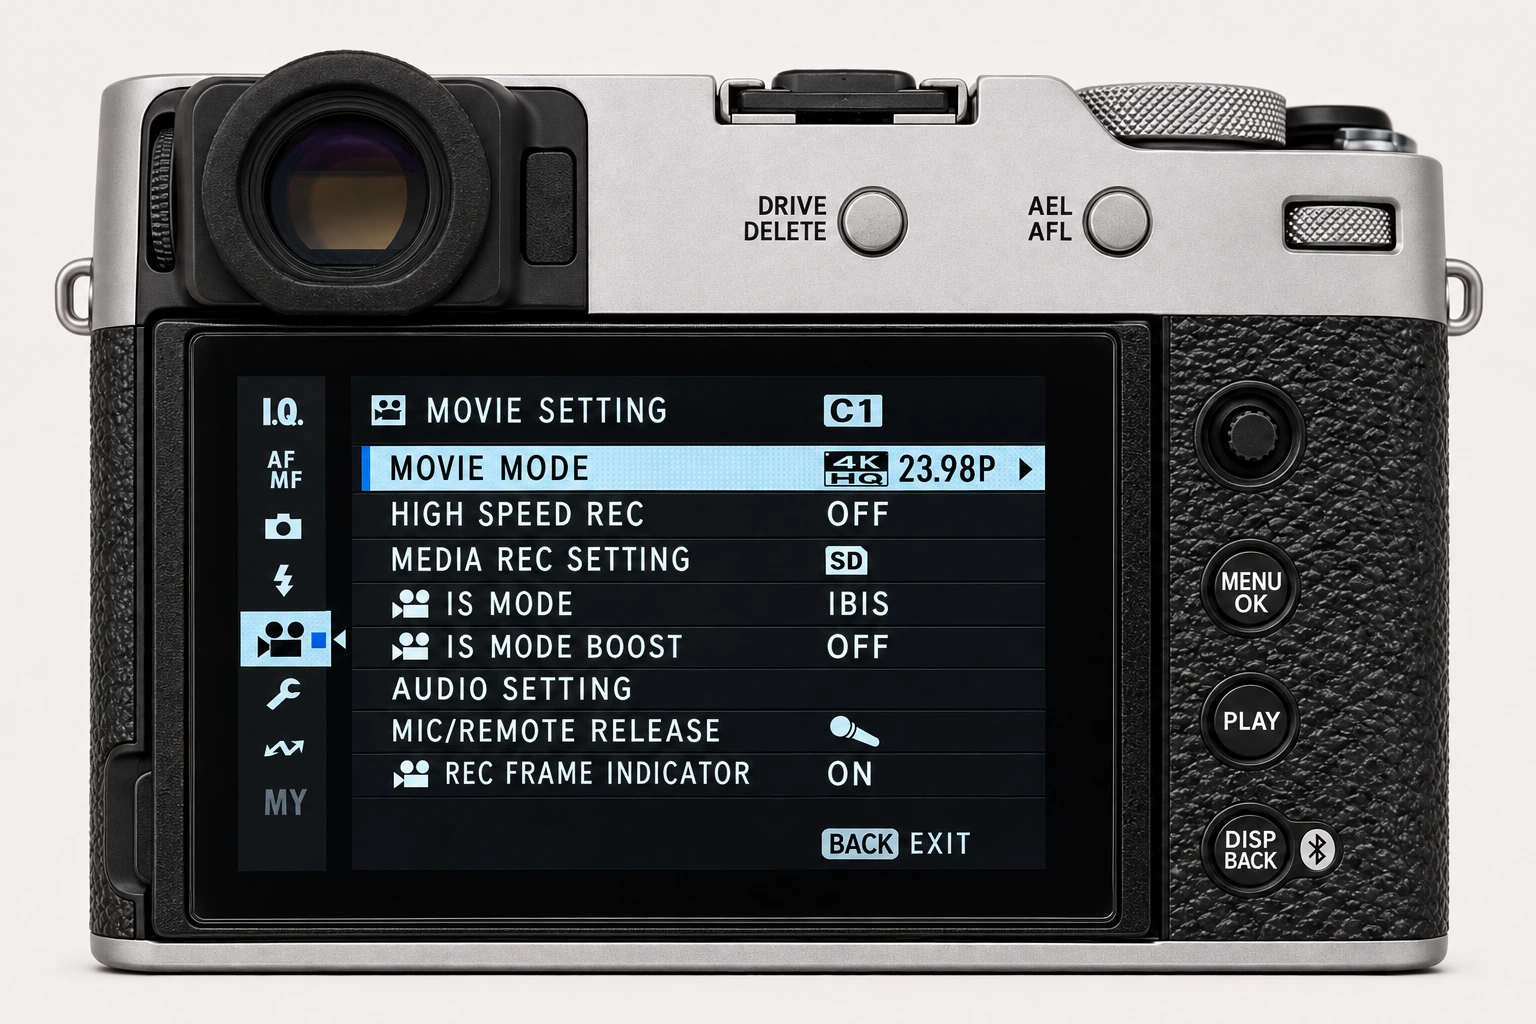
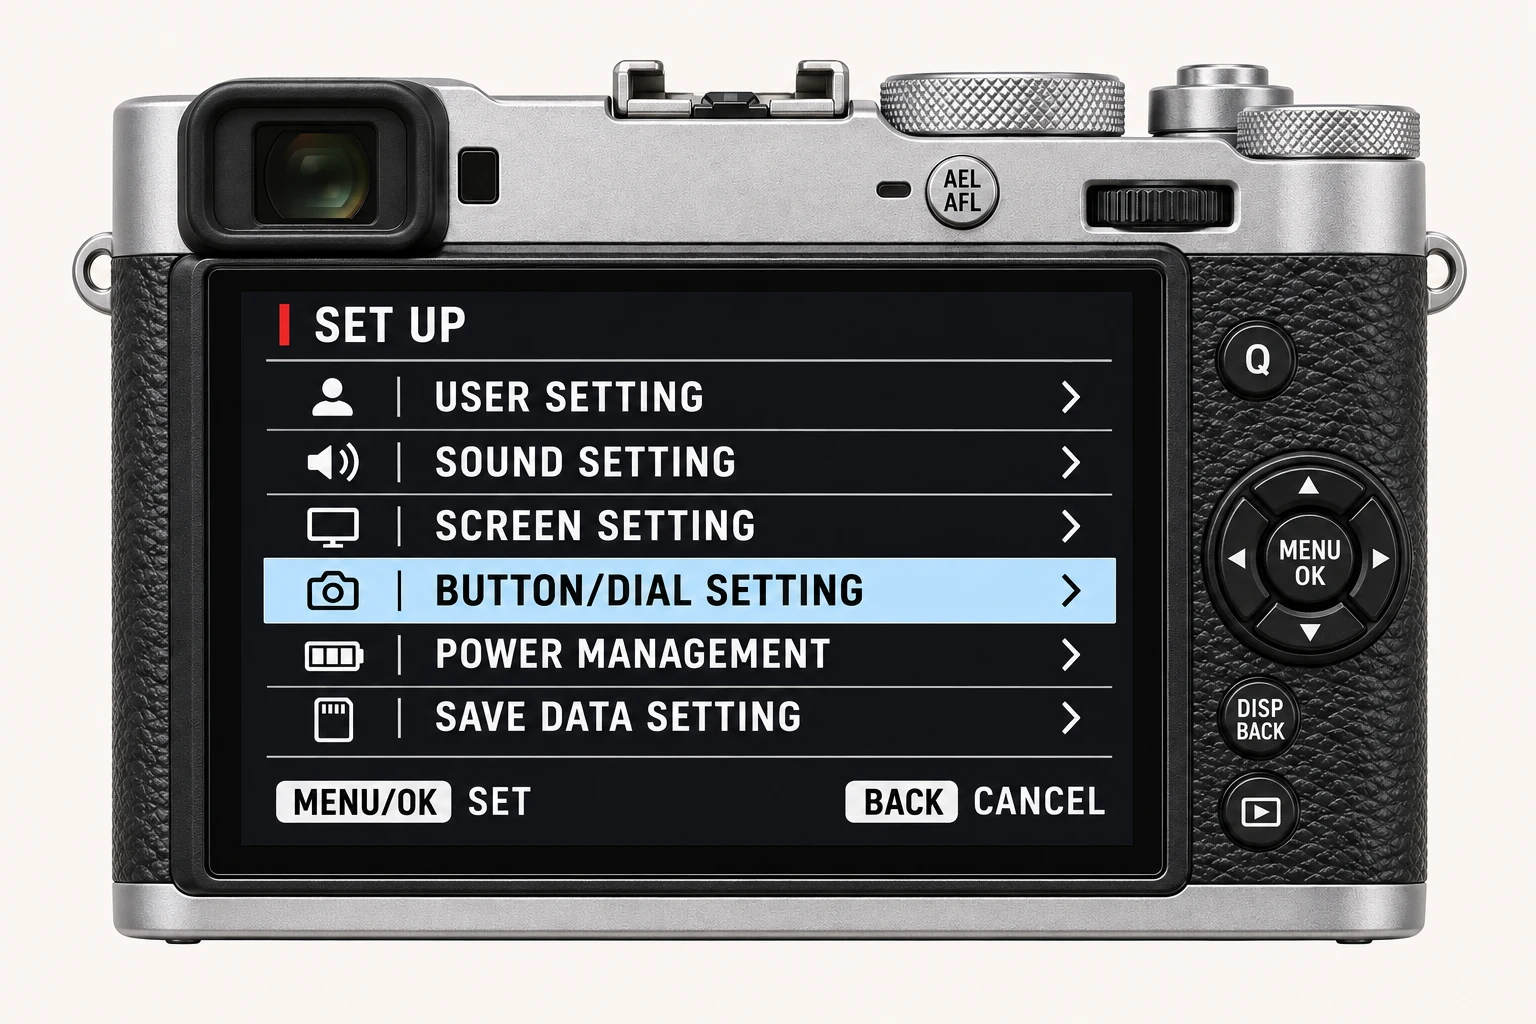
In the still-photo shooting display, open MENU/OK > IMAGE QUALITY SETTING > SHARPNESS. Find Sharpness on I.Q. page 2/3. Keep it separate from Clarity on page 3/3 when copying a recipe. Menu wording and availability can change with firmware, shooting mode and file format.
Options and practical choices
These options refer to the X100VI still-photo menu. Use them as a checked reference for this body; confirm the corresponding choices in the manual for another camera.
| X100VI option | How to use it |
|---|---|
| −4 to +4 | Adjusts edge treatment. Higher values cannot correct a focus error or a shutter speed that was too slow. |
When to use it
Use it after deciding what the subject needs at the intended output size, especially for detailed architecture, foliage or portraits.
Common mistakes and interactions
Avoid using it to compensate for missed focus or motion blur. More sharpening can make artefacts and noise more obvious.
- High ISO NR can suppress texture that sharpening then emphasises differently. Test them one at a time.
- Clarity affects local definition more broadly. A sharpness increase cannot repair missed focus or motion blur.
Try a controlled comparison
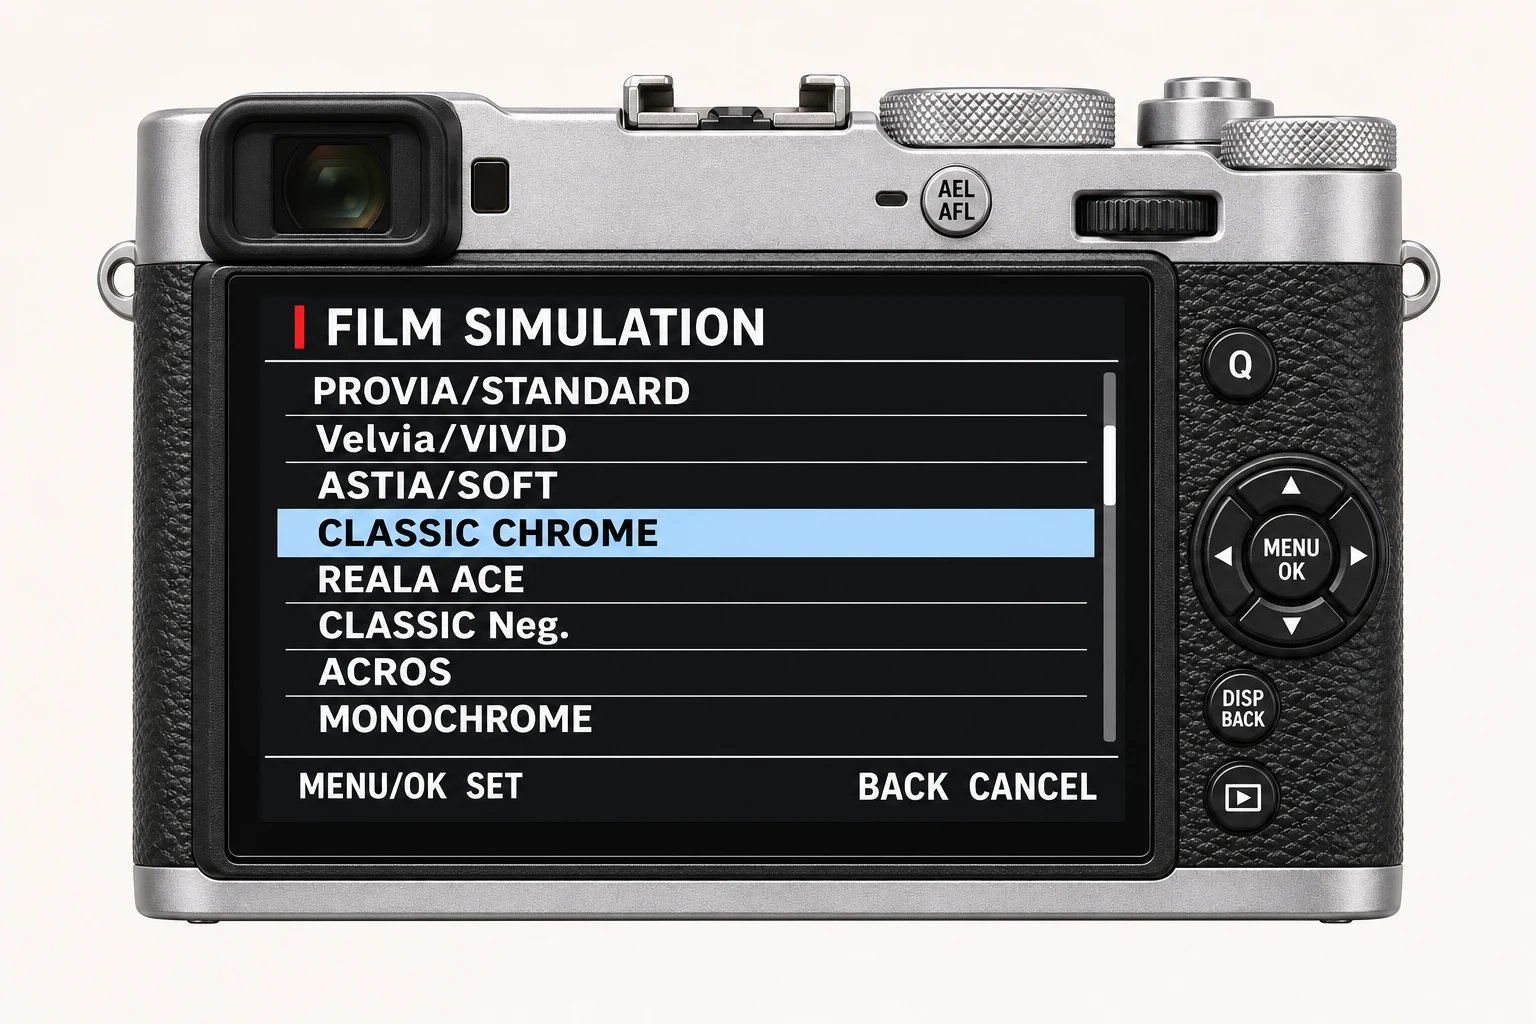
Photograph fine detail and clean edges at the same focus and exposure. Compare adjacent Sharpness values at full resolution and final export size. Keep the original files, label the settings and compare at both full resolution and the size you will share. The menu illustration shows controls, not a simulated photographic result.
Using a different Fujifilm camera
Value ranges can vary, but the comparison principle does not: evaluate the JPEG at the output size instead of reading the number in isolation. The numerical options and menu path above are checked for the X100VI. They are not a compatibility promise for every X Series or GFX body.
Four recipes to try next
Choose a community recipe, check it against your camera and take it into the field.