
Fujifilm Smooth Skin Effect: Portrait Rendering Explained
Learn when to use Off, Weak or Strong Smooth Skin Effect, how to judge skin texture and why it should be tested separately from High ISO NR and Clarity.
 Receptree
Applies to: Menu paths and options checked for the Fujifilm X100VI. The explanations introduce Fujifilm controls; availability on other models and firmware must be checked in their own manuals.
Find the portrait-rendering control
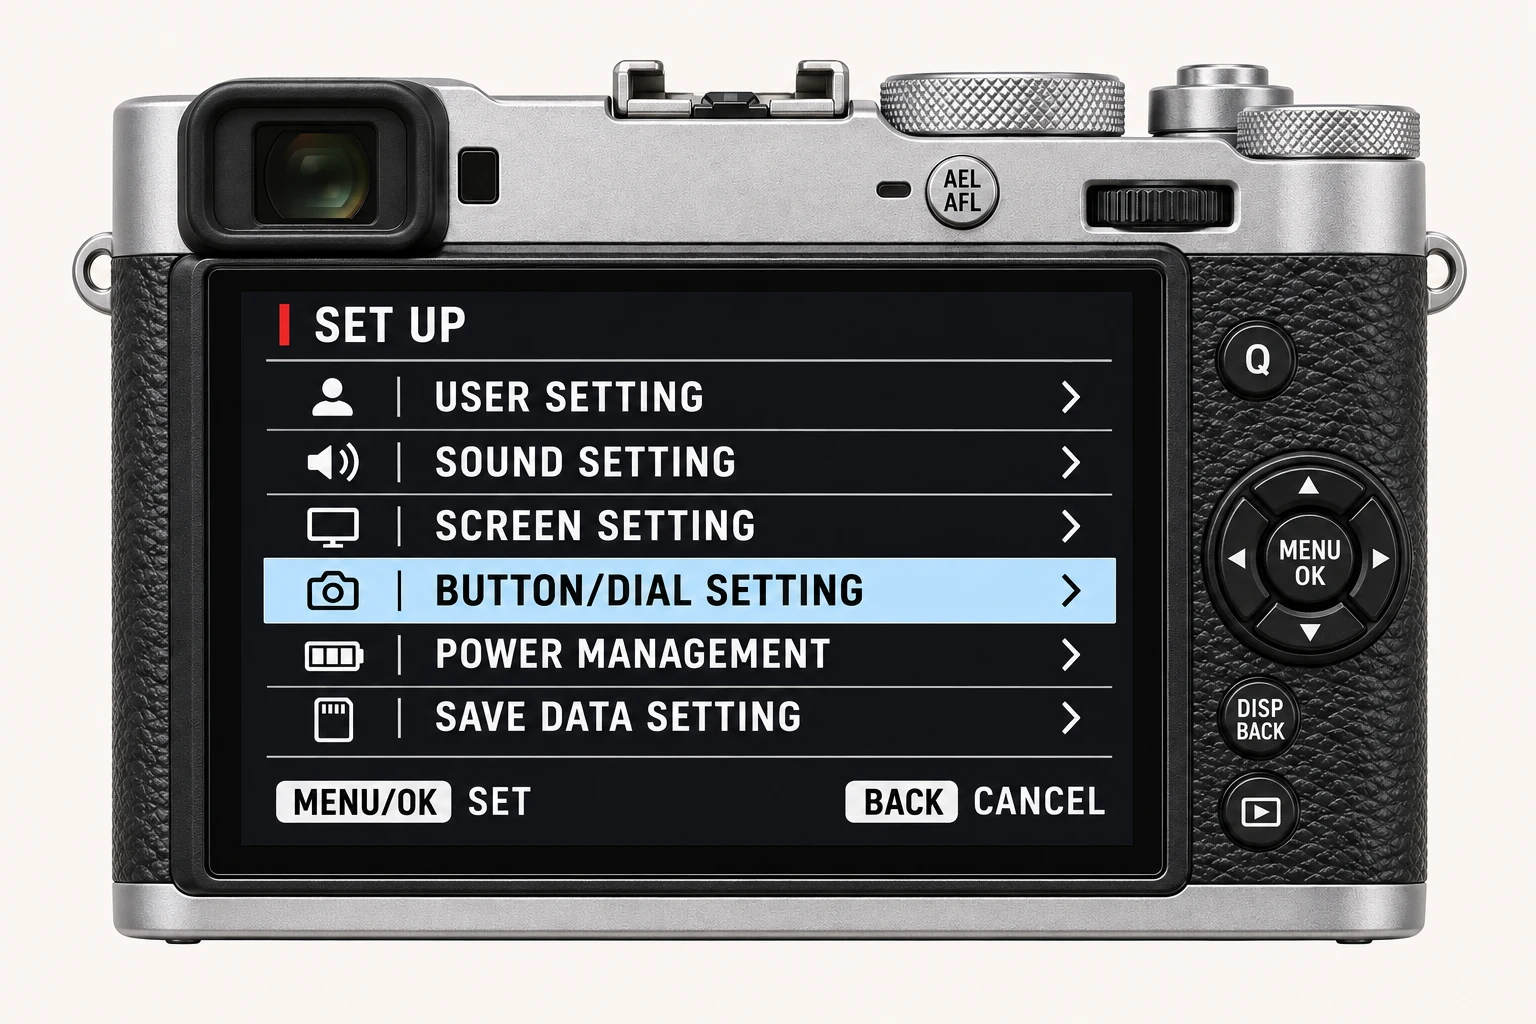
On the X100VI still-photo menu, open MENU/OK > IMAGE QUALITY SETTING > SMOOTH SKIN EFFECT. It sits alongside the colour and tone controls. The available choices are OFF, WEAK and STRONG. Begin with Off as a reference rather than assuming that stronger processing is automatically more flattering.
Choose the amount for the subject
Weak is worth testing when you want a modest smoothing treatment in the camera-rendered portrait. Strong gives a more pronounced treatment. Off is useful when you want to retain natural complexion texture or make the finishing decision later. Judge the subject as a person in the picture, as well as inspecting texture closely.
Separate smoothing, noise and definition
High ISO NR suppresses noise, while Clarity changes local definition and Sharpness adjusts outlines. Changing all of these at once makes it difficult to identify why skin looks smoother or harsher. Start with exposure, focus and flattering light, hold those controls steady, and change only Smooth Skin Effect. It cannot correct missed focus, motion blur or unsuitable light.
A portrait test that reveals the trade-off
With the subject’s agreement, make a short sequence in steady soft light at Off, Weak and Strong. Keep pose, distance and exposure as consistent as possible. Compare skin texture, hair and overall expression at full resolution and your intended sharing size. Retain the originals and choose the rendering that suits the person and the purpose of the photograph.
Four recipes to try next
Choose a community recipe, check it against your camera and take it into the field.