Fujifilm X100VI Focus Settings: Mode, Area and Detection
Find AF Mode, Face/Eye Detection, MF Assist and Focus Check on the X100VI, then build a focus setup you can test.
 Receptree
Applies to: Fujifilm X100VI in still-photo mode. Menu names and available options can vary with firmware and shooting mode.
First choose S, C or M on the camera
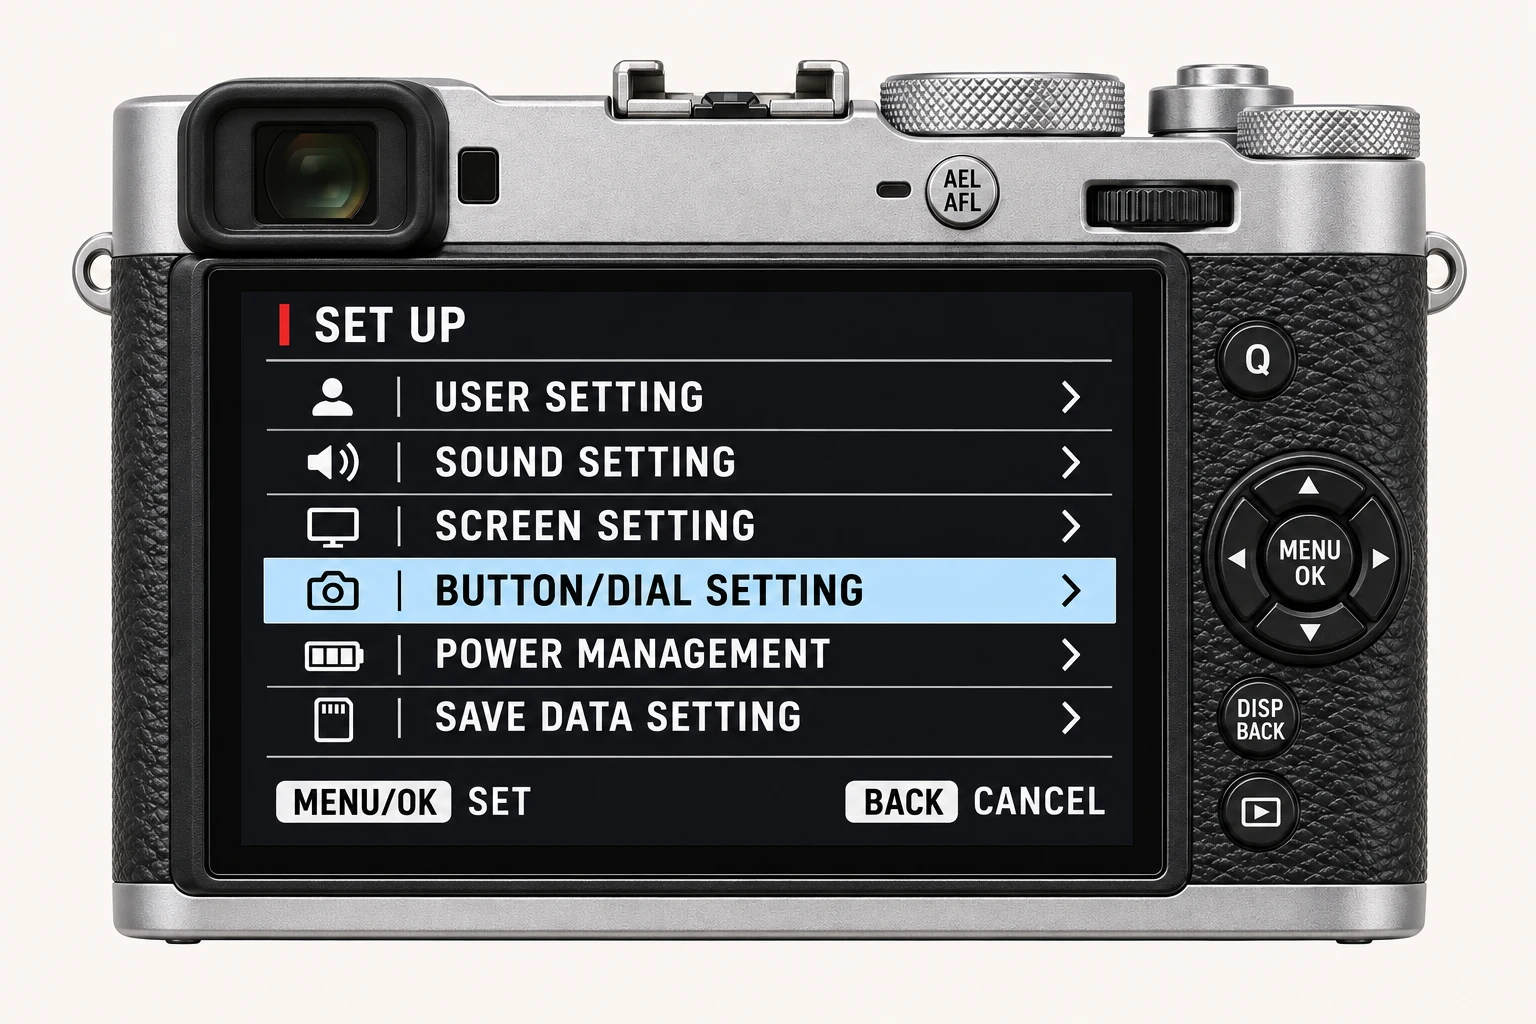
For a stationary subject, begin with S (AF-S). For a subject whose distance changes while you follow it, try C (AF-C). M gives you manual focus with the lens ring. This choice is made with the physical focus-mode selector on the side of the X100VI, so you will not find an S/C/M selector in the menu pictures below. Choose the mode before deciding how large an area the camera should use.
Page 1/3: choose AF Mode and Focus Area
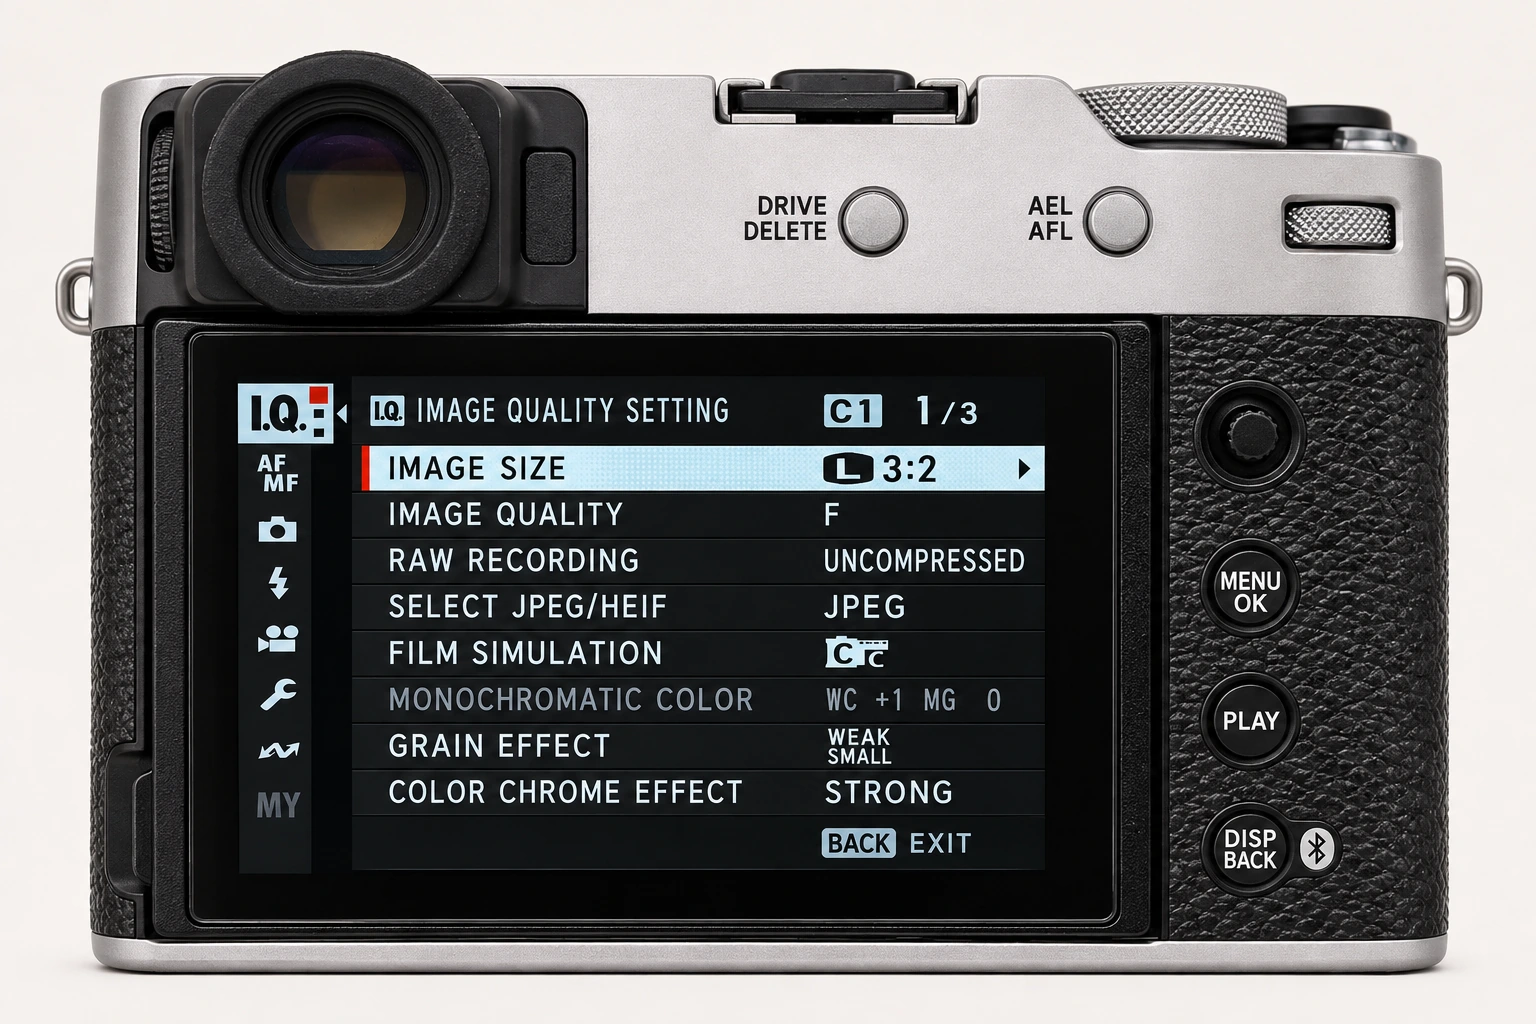
Open MENU/OK > AF/MF SETTING > AF MODE. Single Point gives you a precise area; Zone gives a moving subject more room. Wide/Tracking behaves differently in S and C, so check the current focus mode as well as the menu item. Open FOCUS AREA to position the area with the focus stick and adjust its size with the rear command dial. Make a baseline sequence before experimenting with AF-C Custom Settings.
Page 2/3: tell focus what to look for
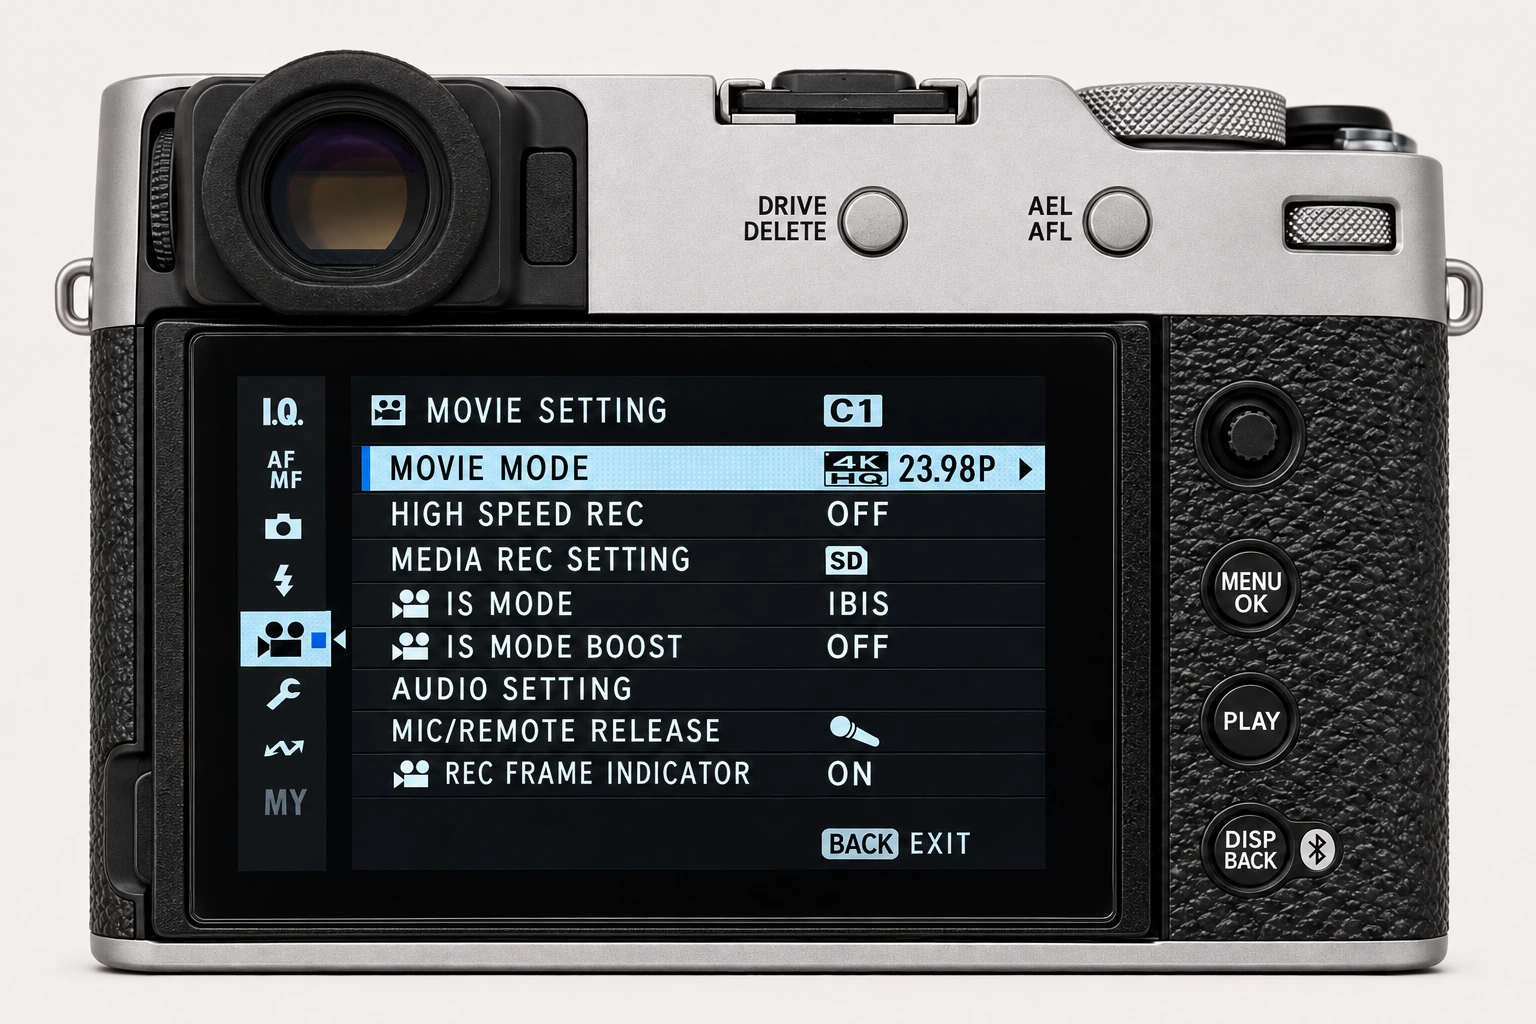
Open FACE/EYE DETECTION SETTING for a person. SUBJECT DETECTION SETTING is the separate control for supported non-human subjects. Choose detection to match the scene, then watch which subject the camera actually marks. For manual focus, look for MF ASSIST here. PRE-AF is a separate decision: it can keep focus working before a half-press and increases battery use. The OFF values in this photo record the original setup rather than a recommended portrait configuration.
Page 3/3: check magnification and touch behaviour
FOCUS CHECK, RELEASE/FOCUS PRIORITY and TOUCH SCREEN MODE live on the third page. If the camera magnifies unexpectedly, or touching the display moves focus when you did not intend it to, inspect these controls before changing the recipe. In manual focus, an aid makes focus easier to judge; it cannot choose the right subject distance for you.
Test one focus decision at a time
Choose a repeatable subject, keep the exposure and recipe steady and make a short sequence. Inspect the point that should be sharp on the finished images. If everything has directional blur, revisit shutter speed as well as focus. If a different object is sharp, revisit the selected area or detection target. Record the successful setup before making another change.
Four recipes to try next
Choose a community recipe, check it against your camera and take it into the field.