
Fujifilm Film Simulations Guide for Photographers
Understand the character of Fujifilm film simulations, choose a useful starting point and turn it into a recipe that suits your own photographs.
 Receptree
Applies to: Written for Fujifilm photographers. Camera menu names, film simulations and available settings vary by model and firmware.
Start with the character of the photograph
Film simulations are Fujifilm camera profiles that shape colour, contrast, highlight roll-off and shadow depth in a JPEG. They are a useful starting point for a look, not a promise that every scene will render the same way. Before choosing one, decide what you want from the next photographs: restrained travel colour, a vivid landscape, a quiet monochrome study or a more expressive street frame. That intention gives the setting a job beyond its name.
Know the common starting points
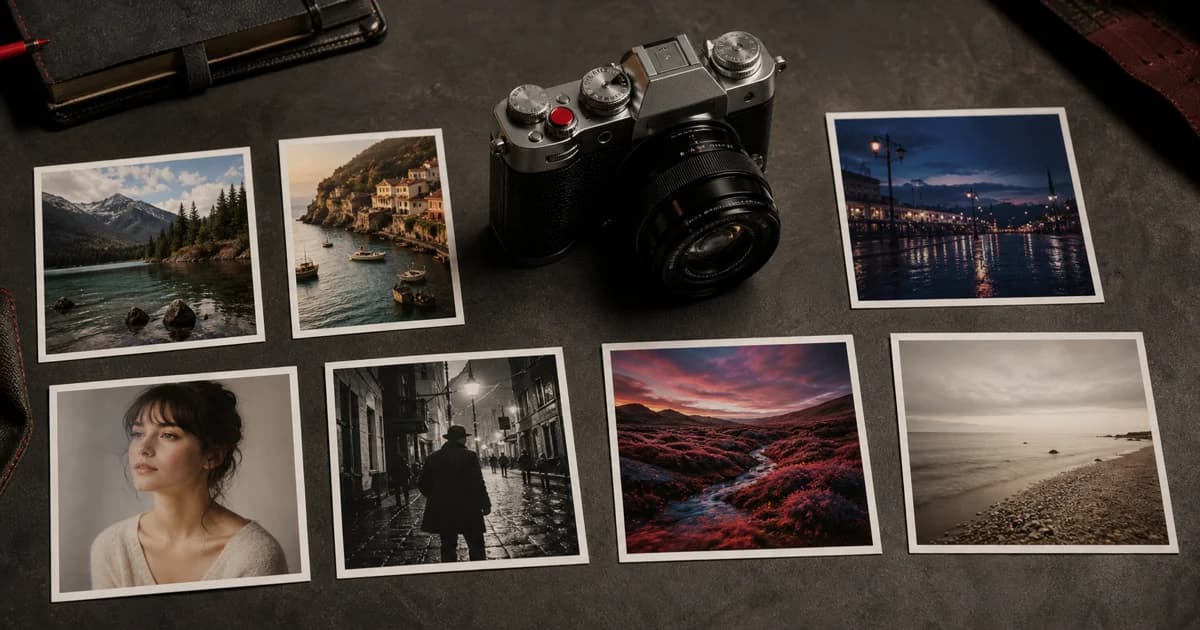
Each simulation has a recognisable direction. The most useful choice is the one that supports the scene in front of you, rather than the profile that is most popular online.
- Classic Chrome: restrained colour and gentle contrast for documentary, travel and everyday scenes.
- Classic Neg: denser contrast and warmer, more expressive colour for street scenes and ambient portraits.
- Provia / Standard: a balanced, flexible baseline for mixed light and general use.
- Velvia / Vivid: stronger saturation and contrast for colour-led landscapes and dramatic light.
- Nostalgic Neg: warm highlights and softer contrast for an editorial, negative-film feeling.
- Acros: rich monochrome rendering with filter options for black-and-white work.
- Eterna: restrained contrast and gentle highlights for cinematic colour and hybrid shooting.
Match the simulation to the light before the mood
The same simulation can feel calm in overcast light and heavy in hard afternoon sun. Start by noticing whether the scene is low contrast or high contrast, warm or cool, and whether the important tones are skin, foliage, a bright sky or a dark interior. A restrained simulation can leave more room for a complicated scene; a denser one can help when the scene already has clear shape and direction. This is a starting decision, not a rule about what any subject must look like.
- Use a balanced base when the light will change quickly or you need one flexible reference.
- Use a more expressive base when its colour and contrast serve the actual subject, not only a sample image.
- Protect important highlights before deciding that a simulation is too contrasty.
Turn a starting point into a recipe
A usable recipe combines its base simulation with decisions about white balance, white-balance shift, highlights, shadows, colour, grain and detail. Start with one visual goal and change one variable at a time. A warm indoor recipe may need a different base white balance and exposure approach than the same simulation in open shade. Treat the full combination as the recipe, and record the conditions in which it worked.
- Choose the base simulation for the feeling and light you expect.
- Set tonal controls to protect what matters in the frame.
- Use small white-balance-shift changes only after the base light is correct.
- Make a short test sequence before committing it to a camera slot.
Run a comparison you can trust
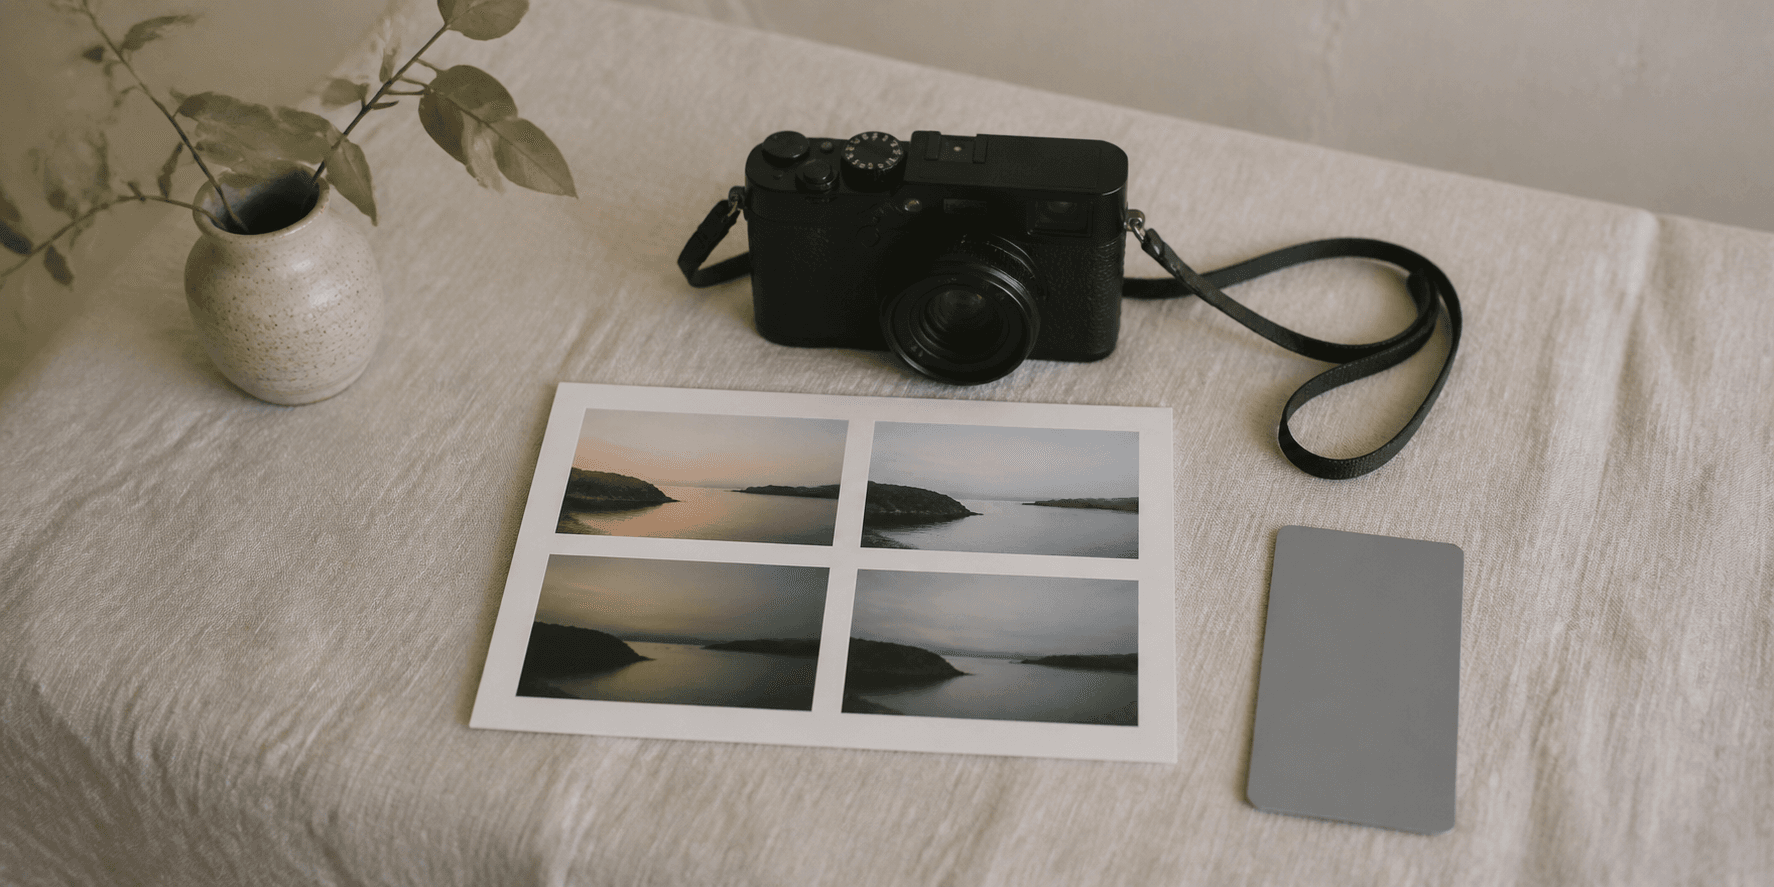
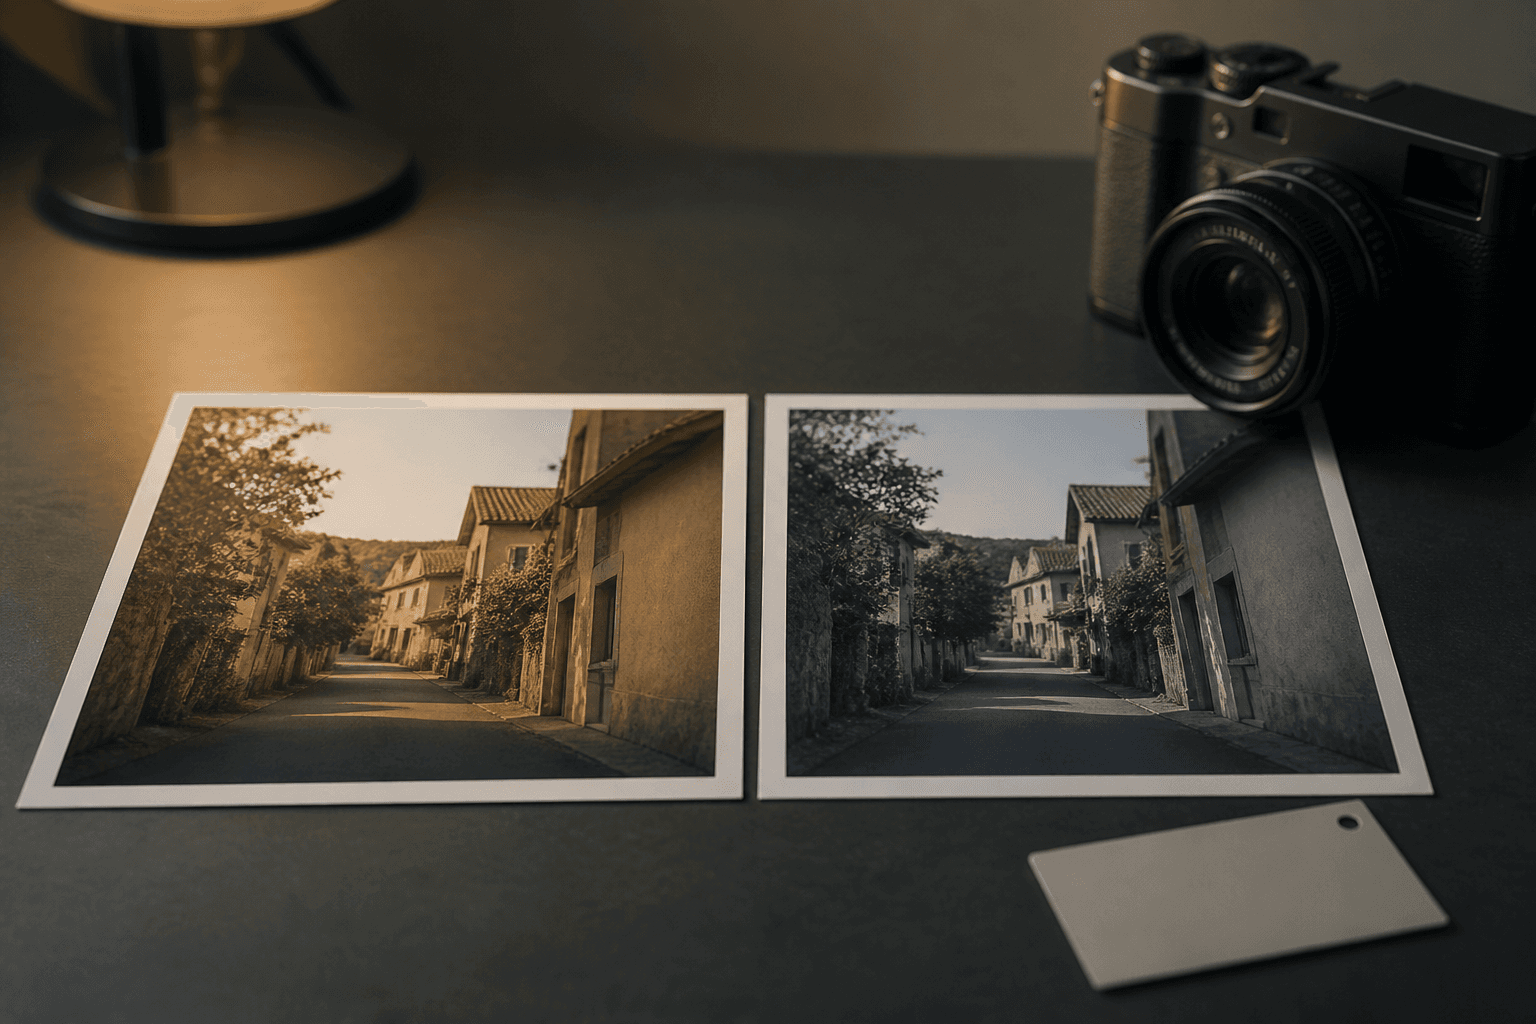
Choose one familiar scene and make a short sequence with two candidate simulations. Keep the lens, exposure intention and white balance as comparable as you can. Include a neutral surface or skin tone if those matter to your work, along with a bright area and a shadow. Review the files at a useful size rather than deciding from a bright camera display. You are looking for the option that makes the scene easier to finish, not the option with the most obvious effect in a single frame.
Check availability before you build around it
Fujifilm cameras do not all share the same film simulations, JPEG controls or naming. Firmware, generation and product line can affect what is available. When you find a published recipe, confirm compatibility before treating it as a direct copy. If your camera differs, keep the visual intention and test the closest supported base. A labelled adaptation is more useful than a recipe that appears exact but cannot be recreated on the camera in your hand.
Keep only the looks you can use again
Save tested recipes in Receptree with camera compatibility and a clear reason for using them. Favourites are useful for individual looks you trust; collections are useful for a small working set such as quiet daylight, warm interiors or travel colour. A compact library makes it easier to choose deliberately before a walk than an archive of untested variations.
See four Fujifilm starting points in complete recipes
Open one recipe from each simulation family and inspect the settings around the base look—not only the simulation name.
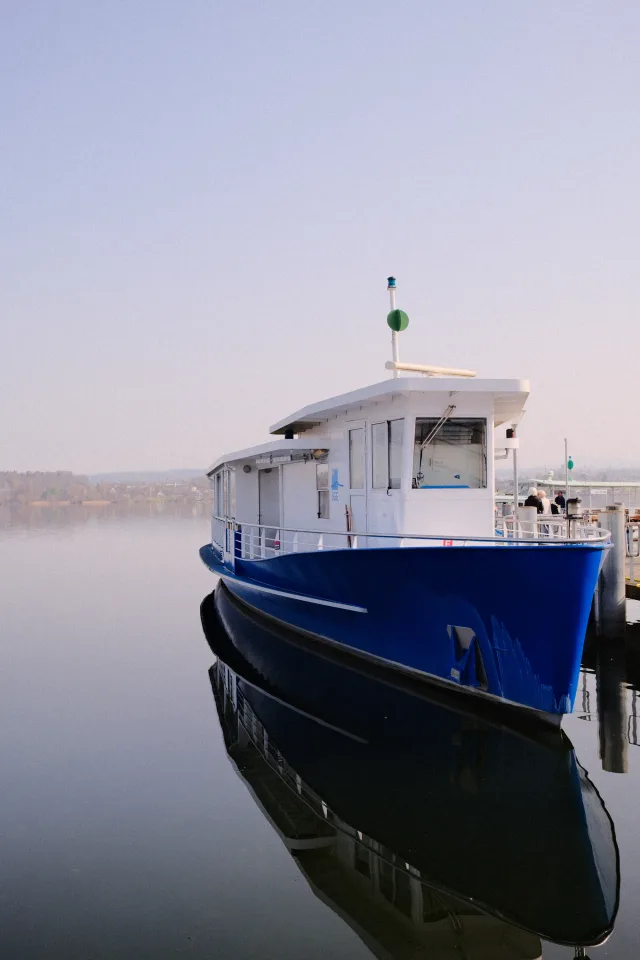
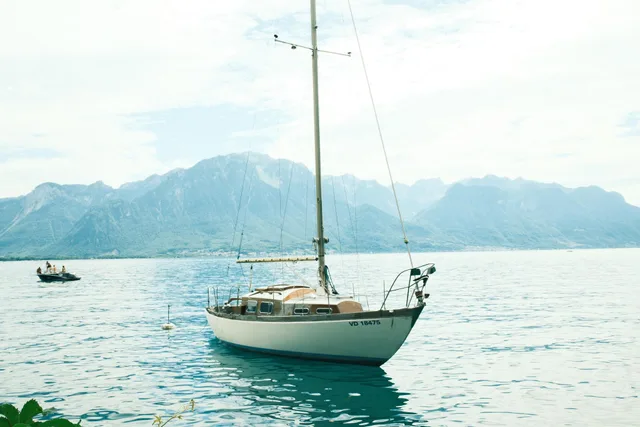
This recipe turned out great I think. The colors are gentle but still vibrant, with soft pastel greens and just the right touch of saturation. Gives a bit of a nostalgic, cinematic vibe while keeping everything feeli
 Receptree
A soft cinematic vibe with the Eterna recipe: high dynamic range, reduced clarity, and strong chrome effect create a dreamy, film-like look – perfect for portraits and urban scenes in daylight.
Receptree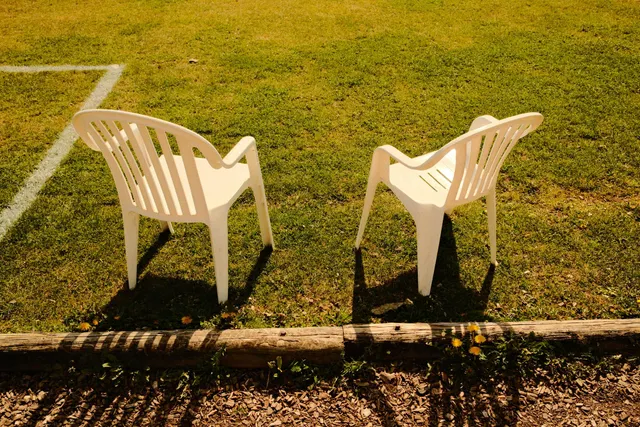
A warm, slightly nostalgic Astia/Soft look with golden tones and soft contrast. Designed for everyday scenes with clean composition and natural light. Works especially well on simple subjects where color harmony and light take the lead.